
Version 1.41 - 2013
Last: Vers. 5.xx - 2018
- ESF Developers' Guide
- Introduction
- Getting Started
- ESF Core/Foundation Code Examples
- ESF Protocol/Application Examples
- Supplementary Documentation
- Additional Eclipse and ESF Tooling
- Resources


PART 6. ADDITIONAL ECLIPSE TOOLING
Continuous and Build Integration Tooling (Buckminster)
Buckminster Integration Tooling
· Overview
· Resolve and Materialize Projects from SVN
· Build Project Files with Buckminster
Buckminster Integration Tooling
Overview
This how-to shows how to add Buckminster to Eclipse. Buckminster is a set of frameworks and tools for automated build, assemble, and deploy development processes in Eclipse. The main project site has additional information at http://www.eclipse.org/buckminster/. Internally, Eurotech uses Buckminster to maintain the various project builds, ‘hierarchies’ of projects, svn checkouts, update site builds, and plugin builds. With a few simple clicks one can check out an entire set of projects that make up a product if the SVN is organized properly and can also build the entire set of projects. Furthermore, the bundle version numbers can become the SVN revision numbers rather than just time stamps as they do with a standard manual export, making version tracking on targets much easier.
In this example, you will learn how to
· Add and Configure the Buckminster Plug-ins for Eclipse
Prerequisites
or
· Installing ESF Tooling into Wind River Workbench
and
Installing Buckminster
This how-to covers how to use Buckminster with Subversion. However, Buckminster also supports Git and Maven. That usage is outside of the scope of this document.
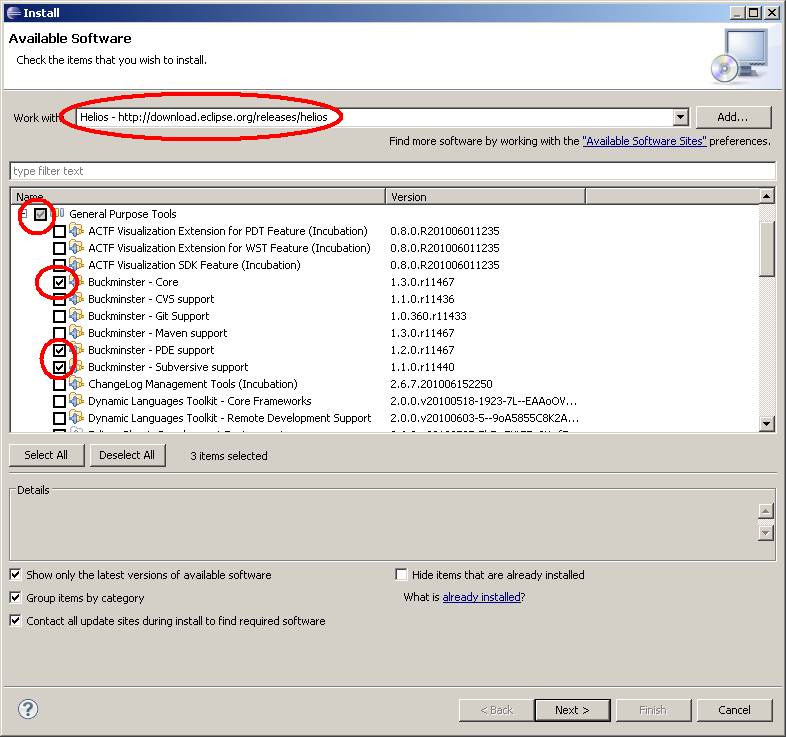
To begin, click ‘Help -> Install New Software…’ in the Eclipse menu. Select ‘Helios – http://download.eclipse.org/releases/helios’ in the ‘Work with:’ field (for Eclipse Indigo, the update site is http://download.eclipse.org/tools/buckminster/updates-3.7). Expand the ‘General Purpose Tools’ section. Select the following three plug-ins:
· Buckminster - Core
· Buckminster - PDE support
· Buckminster - Subversive support
Click ‘Next’ to continue.
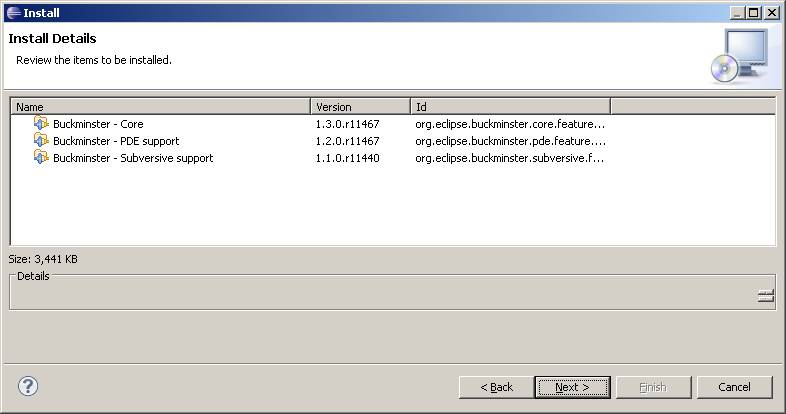
Click ‘Next’ in the verification dialog box.
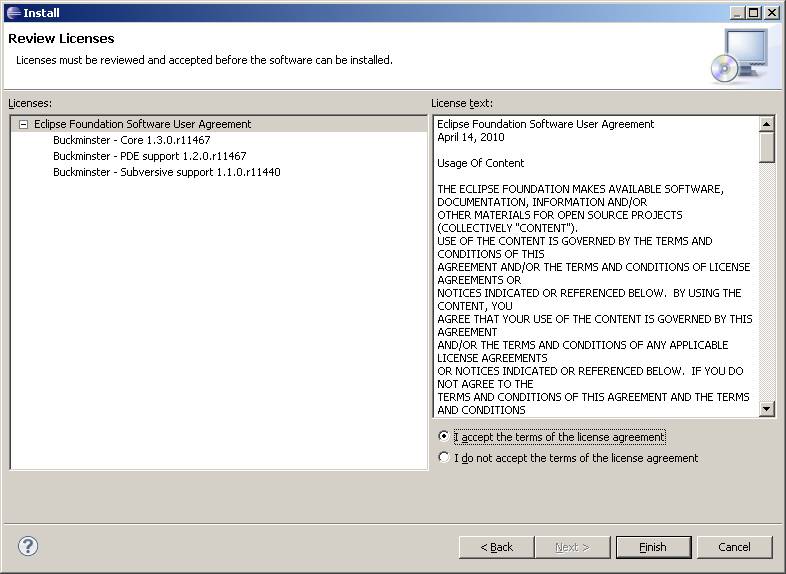
A new dialog will display the Eclipse EULA that is required for these plug-ins. Accept the agreement and click ‘Finish’.
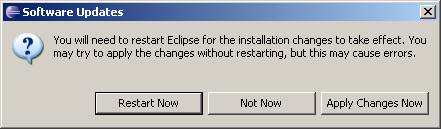
The install will probably take a few minutes to complete. Once done, it will prompt you with a restart option. Select ‘Restart Now’ to restart Eclipse with the newly installed plug-ins.
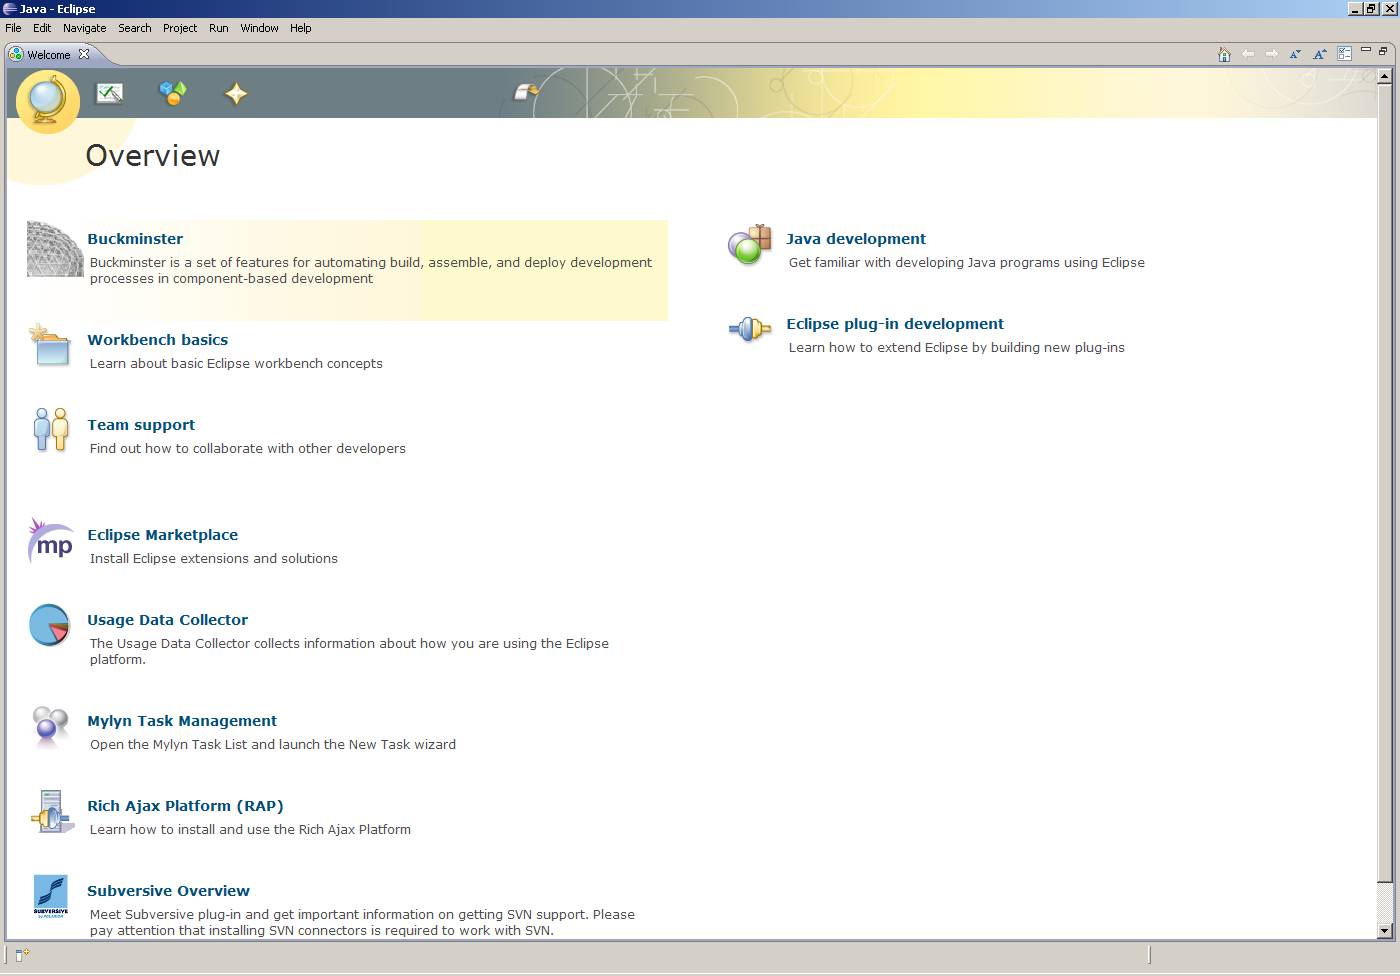
With Eclipse restarted, you can now configure the Buckminster plug-in. The Eclipse Welcome screen has documentation links to the Buckminster documentation.
With Buckminster installed, you now need to set up a project to use it. Buckminster is very complex and can do many things. It is recommended that you read Bucky Book if you are interested in all the details. However, this how-to will show you how to use SVN, rmaps, and features to checkout your projects and build them.
Create Bootstrap Project
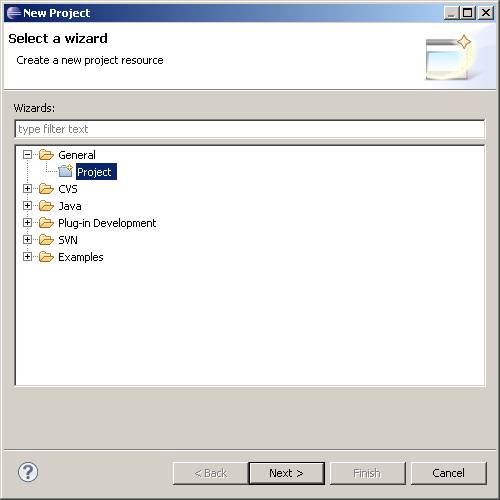
For an example, create a ‘Bucky Bootstrap’ project in Eclipse. This project is a general project that contains some metadata files. Right-click in the Package Explorer, go to ‘New -> Project’, select ‘General -> Project’, and then click ‘Next’.
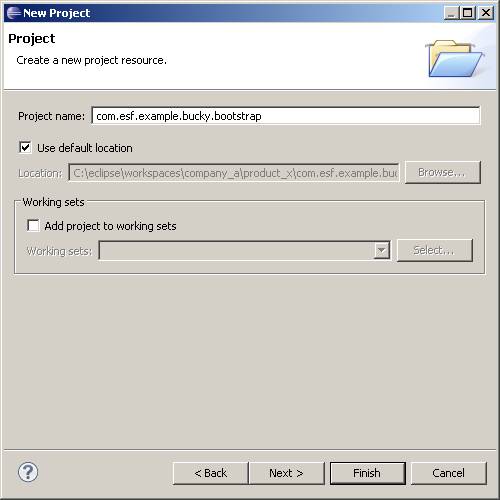
Give the project the name ‘com.esf.example.bucky.bootstrap’ and click ‘Finish’.
With the three projects created, you have to add the following three components:
· Buckminster Properties
· Resource Map
· Component Query
Buckminster Properties File
The following is an example of a simple key/value properties file that defines some basic information that Buckminster should use for builds.
#######################################################################################
# Where all of the output should go
buckminster.output.root=${user.home}/Desktop/bucky/output
# Where all of the temp files should go
buckminster.temp.root=${user.home}/Desktop/bucky/temp
# How .qualifier in versions should be replaced (this will replace .qualifier with SVN revision number of the project)
qualifier.replacement.*=generator:lastRevision
# Don’t build source bundles
cbi.include.source=false
#######################################################################################
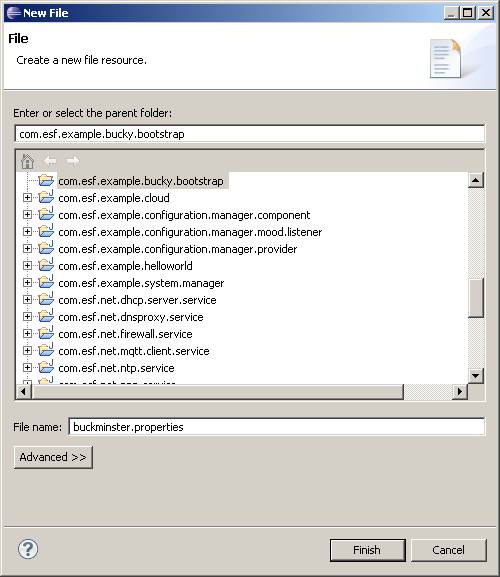
Create the file by right-clicking the ‘com.esf.example.bucky.bootstrap’ project and clicking ‘New -> File’. In the File name field, type the file name ‘buckminster.properties’.
Copy and paste the contents of the buckminster.properties into the file.
Resource Map File
Next, you need to create the ‘rmap’ file. The rmap is what Buckminster uses to find the resources necessary to resolve the projects. The following is an example rmap file.
<?xml version="1.0" encoding="UTF-8"?>
<rmap
xmlns:xsi="http://www.w3.org/2001/XMLSchema-instance"
xmlns="http://www.eclipse.org/buckminster/RMap-1.0"
xmlns:bc="http://www.eclipse.org/buckminster/Common-1.0"
xmlns:mp="http://www.eclipse.org/buckminster/MavenProvider-1.0"
xmlns:pp="http://www.eclipse.org/buckminster/PDEMapProvider-1.0">
<searchPath name="foundation">
<provider readerType="svn" componentTypes="osgi.bundle,eclipse.feature,buckminster" mutable="true" source="true">
<uri format="svn+ssh://www.my_svn_server.com/svn/esf/trunk/bundles/foundation/{0}">
<bc:propertyRef key="buckminster.component" />
</uri>
</provider>
</searchPath>
<locator searchPathRef="foundation" pattern="^com.esf.core" />
</rmap>
The main concerns in the rmap are the ‘searchPath’ entries and the ‘locator’ entries. The searchPath ties a name to an SVN location. The locator ties the name to a regular expression that represents the component names that can be found there. So given this example, all bundles, features, and buckminster components that start with the name com.esf.core will be expected in www.my_svn_server.com/svn/esf/trunk/bundles/foundation/. searchPath and locator entries can be added so Buckminster can find all of the dependent components.
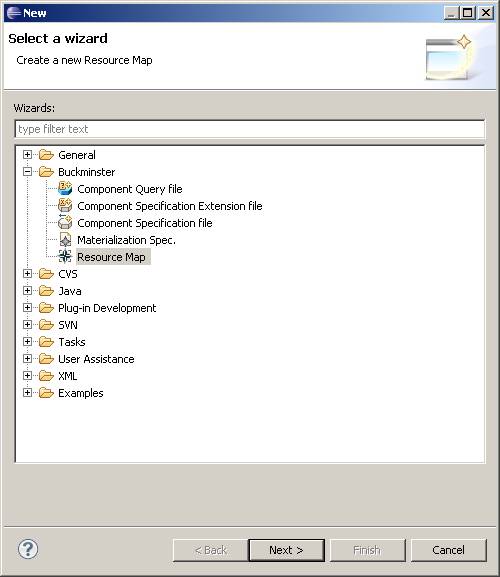
To create the ‘rmap’, right-click com.esf.example.bucky.bootstrap and click ‘New -> Other’. Expand ‘Buckminster’, select ‘Resource Map’, and then click ‘Next’.
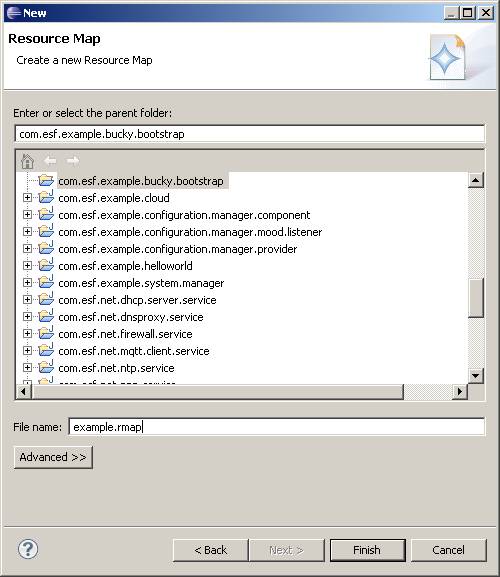
Give the rmap a name (example.rmap in this case) and click ‘Finish’.
Right-click example.rmap in the Package Explorer and select ‘Open With -> Text Editor’. This will open the rmap so you can manually edit the xml. Copy and paste the previous example rmap and change the fields to match your SVN requirements.
Create Feature Project
The Component Query (cquery) file is the base Buckminster file that triggers the resolution of bundles in the workspace. It points to a single ‘feature’ that has knowledge of all of the required components. Those components are then resolved using the rmap file and checked out of SVN. For example, say you have a very simple project layout that looks like
com.esf.example.my_product_root.core.feature
#this contains two features and one plugin (com.esf.example.my_product_root.part0.bundle)
com.esf.example.my_product_root.part1.feature
#this contains two plugins
com.esf.example.my_product_root.part1.bundle
com.esf.example.my_product_root.part2.bundle
com.esf.example.my_product_root.part2.feature
#this contains one plugin
com.esf.example.my_product_root.part3.bundle
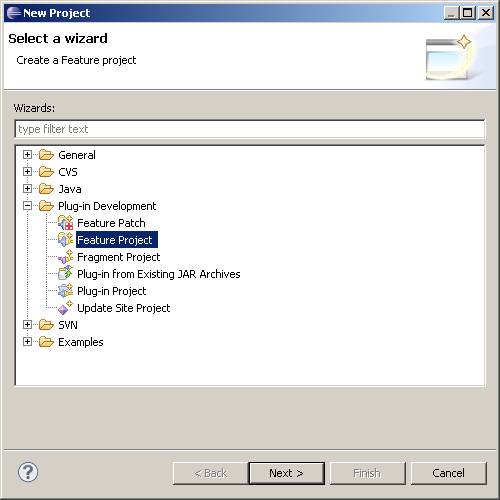
Features in Eclipse are groupings of additional Features and Plugins (aka bundles). Creating Eclipse features to group projects can be done in Eclipse. To create a feature project, right-click the Package Explorer in Eclipse and select ‘New -> Project’. Expand ‘Plug-in Development’, select ‘Feature Project’, and then click ‘Next’.
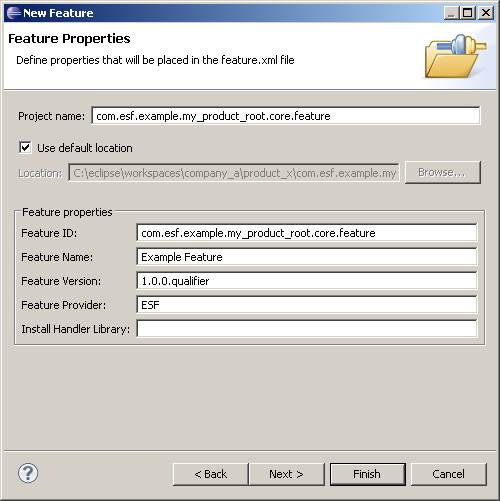
Set the Project name as ‘com.esf.example.my_product_root.core.feature’ and click ‘Finish’.
Next, open the feature.xml for the new project as shown in the following screen capture.
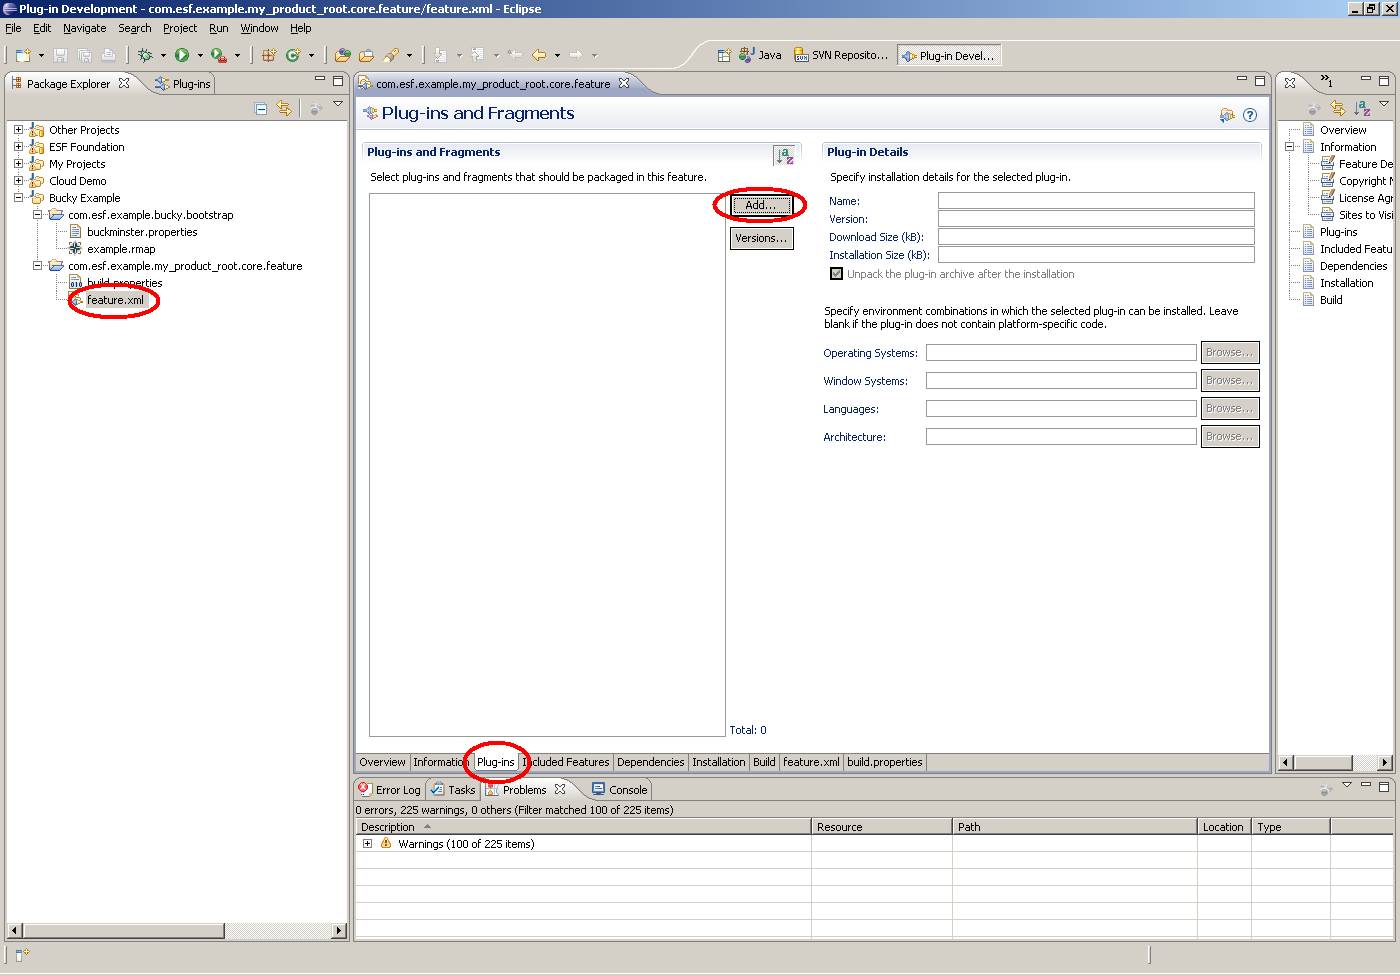
Click the Plug-ins tab on the bottom of the main editor window. In the center of the page, there is a tool to add new plugins to your feature. Add as many as you need for your project. In order for you to be able to add them via this mechanism, the projects must already be in your workspace. We’ll show you how to circumvent this shortly.
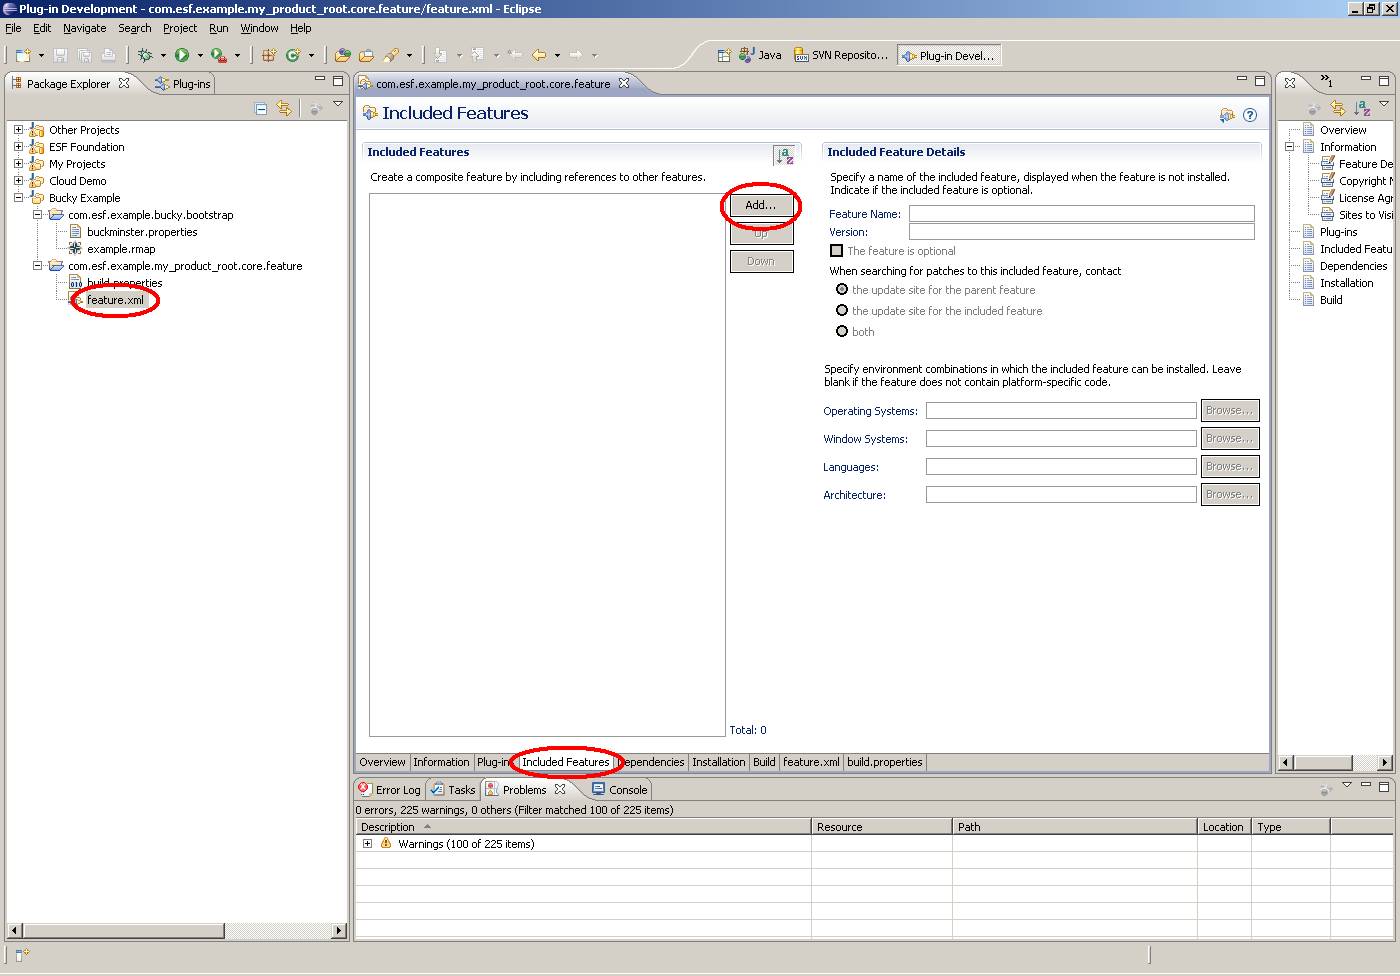
You can also add features to this feature, in the same way you can add plugins. Again, the features must be in the workspace in order to add them this way.
You can also add features (includes) and plugins to the feature.xml by clicking on the ‘feature.xml’ tab, as shown in the following screen capture.
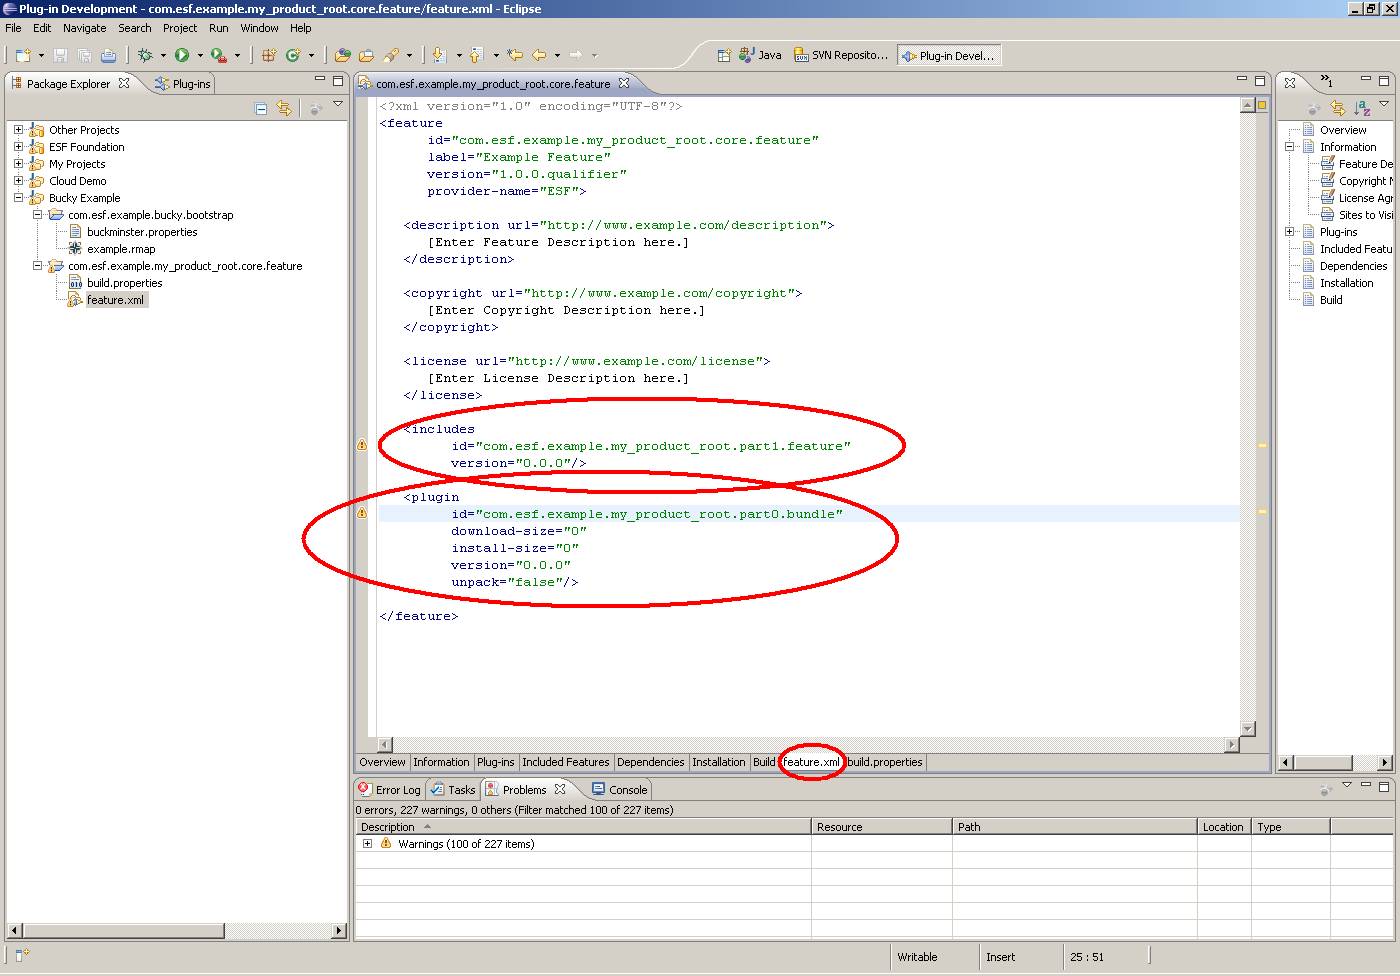
So again, features can be used to group components (both more features and plugins) into common sets. For example, a more real world case is shown in the next example. For a little background to this description, Denali is a web UI product created by Eurotech to act as a mobile router. Denali can run on many Eurotech platforms and is based on ESF. So, this hierarchical structure for projects is the key to keeping the project management organized and functioning with Buckminster. Also, Helios and ISIS are hardware platforms created by Eurotech.
The following is an example of a feature project for Denali on the Helios product.
com.esf.example.helios_denali.feature
#this contains the two features below plus all of the Helios/Denali specific business logic plugins (i.e. to flash Helios specific LEDs)
com.esf.example.denali_base.feature
#this contains all non platform specific Denali base plugins
com.esf.example.esf_base.helios.feature
#this contains the following esf_base feature plus all Helios specific ESF foundation plugins
com.esf.example.esf_base.feature
#this contains all of the core non-platform specific ESF foundation plugins
Likewise, the following is an example of a corollary project running Denali on the ISIS.
com.esf.example.isis_denali.feature
#this contains the two features below plus all of the Isis/Denali specific business logic plugins (i.e. to take advantage of the Isis’ additional Serial ports)
com.esf.example.denali_base.feature
#this contains all non platform specific Denali base plugins
com.esf.example.esf_base.isis.feature
#this contains the following esf_base feature plus all Isis specific ESF foundation plugins
com.esf.example.esf_base.feature
#this contains all of the core non-platform specific ESF foundation plugins
Even though similar software is running on different platforms, the code is structured in a way so that most of it is shared across the two products. Furthermore, features like com.esf.example.esf_base.helios.feature can be used as the ‘Isis esf_base’ since additional foundation bundles present in it take advantage of the ISIS’ unique capabilities. But, again com.esf.example.esf_base.feature is still common across all platforms.
Regardless of the layout beyond the ‘root’ project (com.esf.example.helios_denali.feature and com.esf.example.isis_denali.feature in the two previous examples), the rest of the layout is of no concern to Buckminster. Buckminster cares that there is only a single ‘root’ project and that all downstream projects (both features and plugins) can be found using the rmap file.
Component Query File
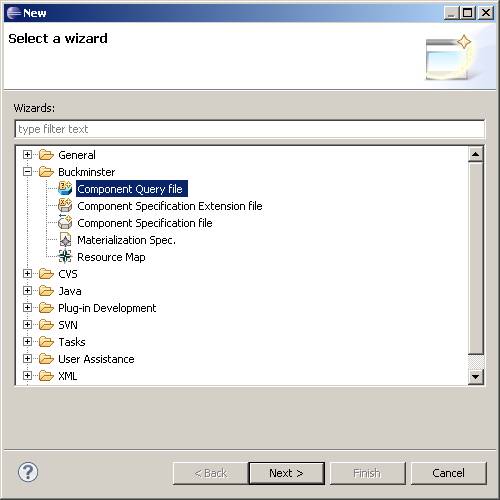
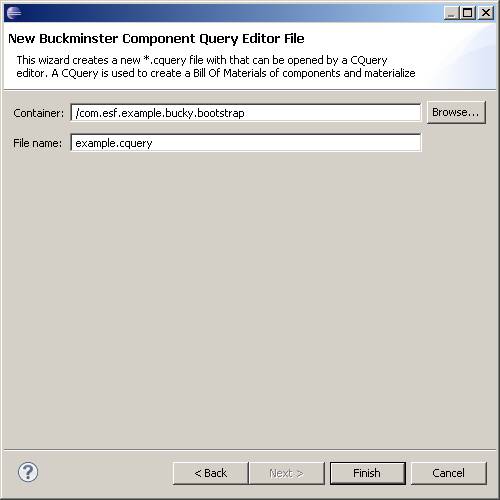
With this understanding, you can now make the cquery file. Right-click the com.esf.example.bucky.bootstrap project and select ‘New -> Other’. Expand ‘Buckminster’, select ‘Component Query file’, and click ‘Next’.
The Buckminster Query Editor will open, showing the container as /com.esf.example.bucky.bootstrap. This can be left at the default value. But you should change the name of the project. Normally, this would be something like [product_name].cquery. In this example, name the file example.cquery. Then click ‘Finish’.
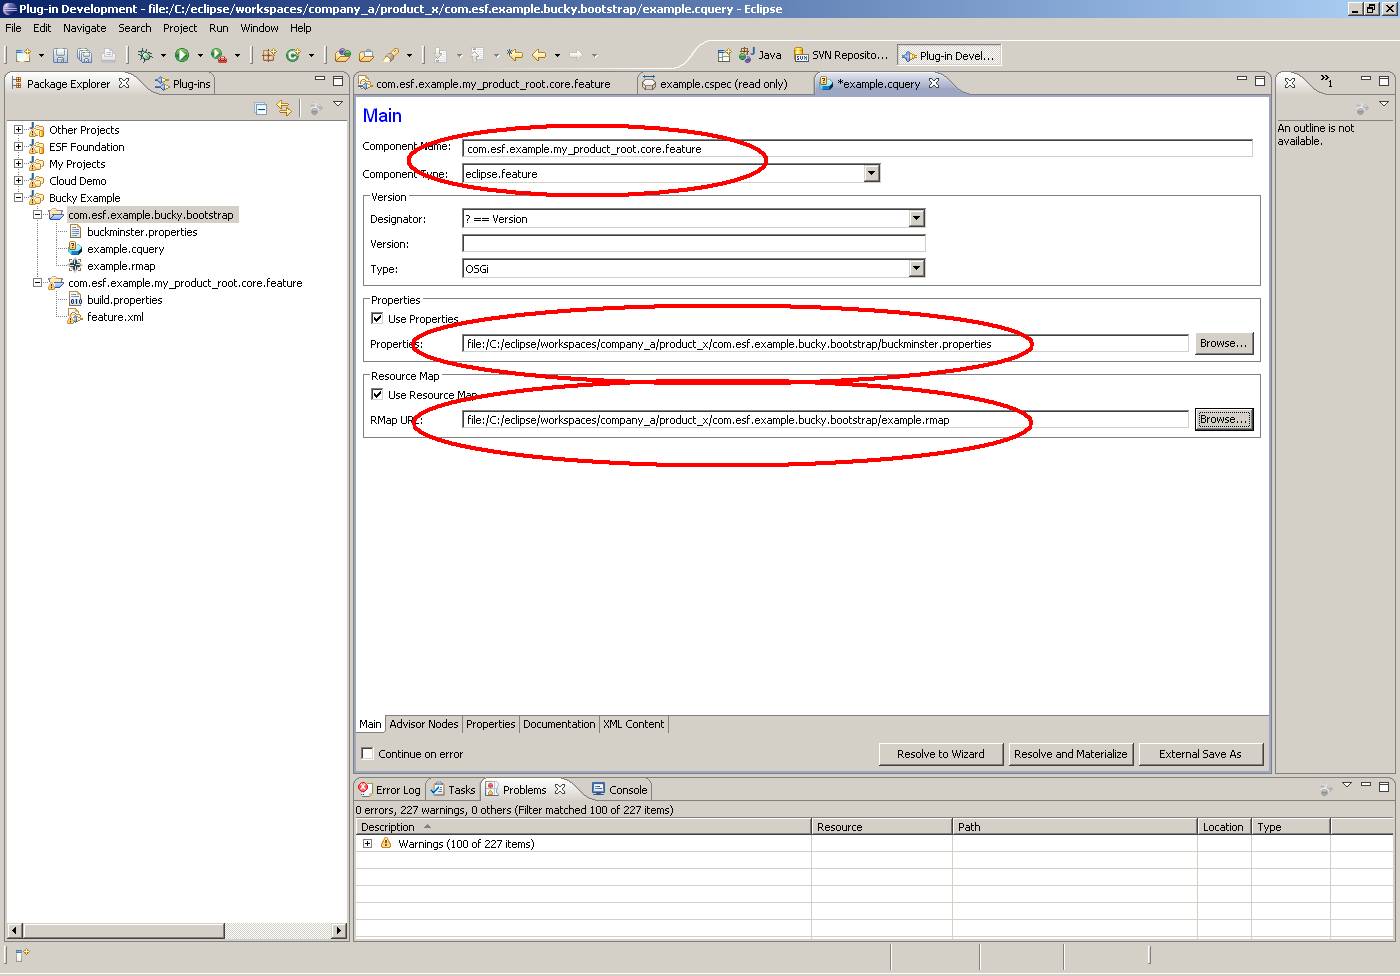
The cquery file will open and must be modified to point to the following three items:
· Component Name – core feature (com.esf.example.my_product_root.core.feature)
· Component Type – enter ‘eclipse.feature’
· Properties file – enable the checkbox, and browse in workspace to the bootstrap project to find the buckminster.properties file
· Resource Map – enabled the checkbox, and browse in workspace to the bootstrap project to find the .rmap file
Using Buckminster
Resolve and Materialize Projects from SVN
Once done, click ‘Resolve and Materialize’ to resolve and materialize the projects in order to check out the various plug-ins from the SVN into our current workspace.
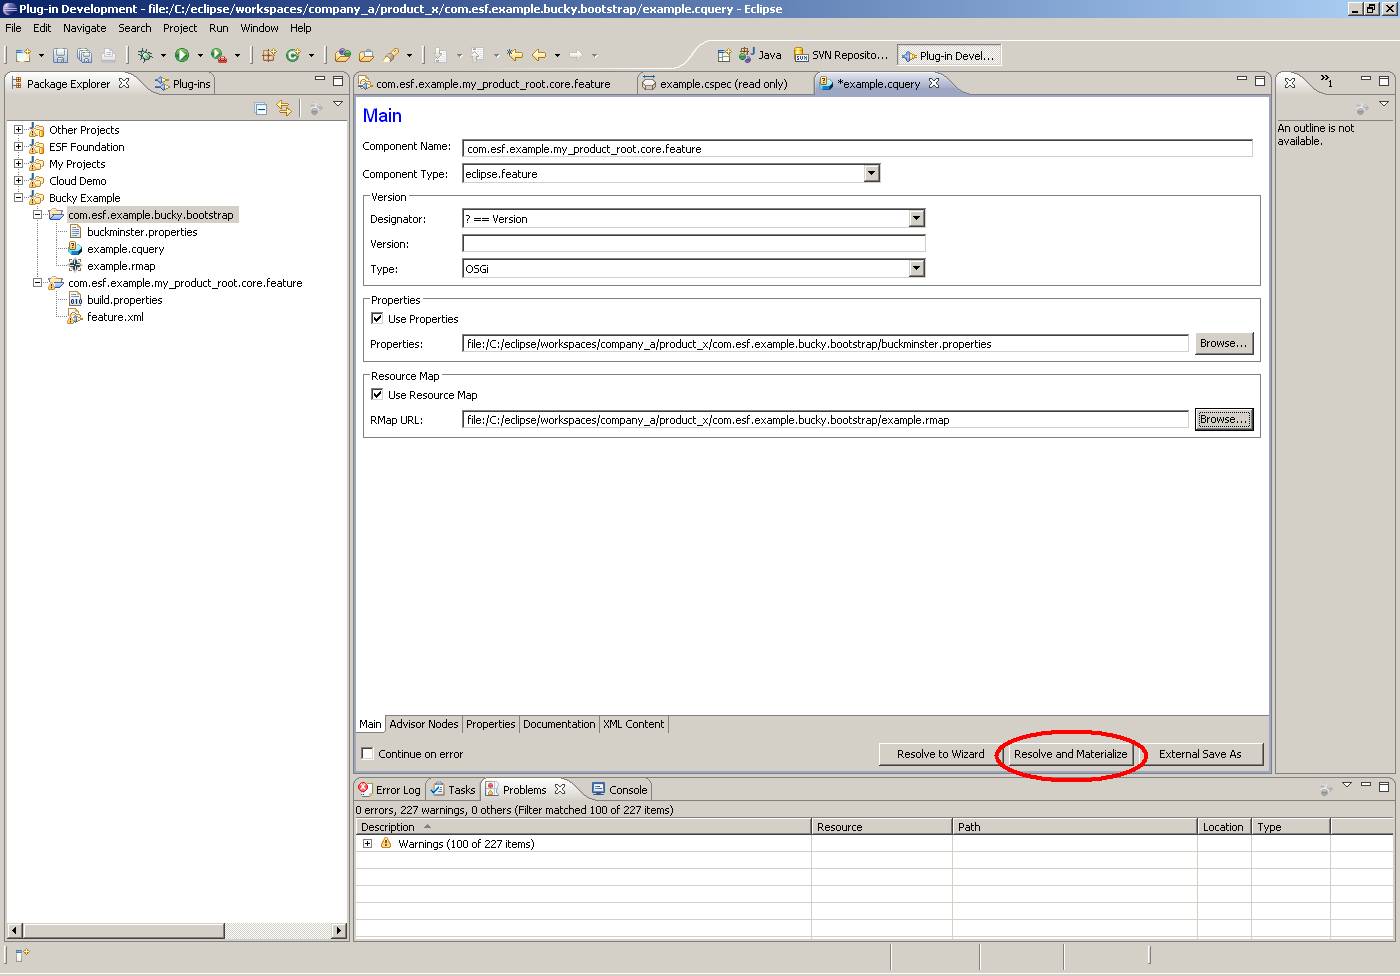
When this button is clicked, all of the features that ‘extend down’ from the base com.esf.example.my_product_root.core.feature will be automatically fetched from the SVN and put into the workspace. If there are errors, they will be displayed at the bottom of the Eclipse window in the console.
You can download all of the example projects here. Use this procedure to import them into your workspace. Once you have them, this is the process to test them in your new Buckminster environment. Modify the rmap as follows.
<?xml version="1.0" encoding="UTF-8"?>
<rmap
xmlns:xsi="http://www.w3.org/2001/XMLSchema-instance"
xmlns="http://www.eclipse.org/buckminster/RMap-1.0"
xmlns:bc="http://www.eclipse.org/buckminster/Common-1.0"
xmlns:mp="http://www.eclipse.org/buckminster/MavenProvider-1.0"
xmlns:pp="http://www.eclipse.org/buckminster/PDEMapProvider-1.0">
<searchPath name="examples">
<provider readerType="svn" componentTypes="osgi.bundle,eclipse.feature,buckminster" mutable="true" source="true">
<uri format="svn+ssh://www.my_svn_server.com/svn/esf/trunk/bundles/doc/examples/{0}">
<bc:propertyRef key="buckminster.component" />
</uri>
</provider>
</searchPath>
<locator searchPathRef="examples" pattern="^com.esf.example" />
</rmap>
Change the highlighted portion to match the URL of your SVN with the full path to the projects in SVN. Commit all of the projects to the location you specified in the rmap. Now create a new clean workspace and check out only the com.esf.example.bucky.bootstrap project. Open the cquery file and click the ‘Resolve and Materialize’ button. At this point, if the rmap was modified properly, all of the bundles should come down from the SVN and into your workspace.
Build Project Files with Buckminster
Now, you can attempt to do a build. Right-click the “feature” project (com.esf.example.my_product_root.core.feature) and select ‘Buckminster -> Invoke Action’. Browse to the “buckminster.properties” file contained in your com.esf.example.bucky.bootstrap project. Select ‘site.p2’ and click ‘OK’.
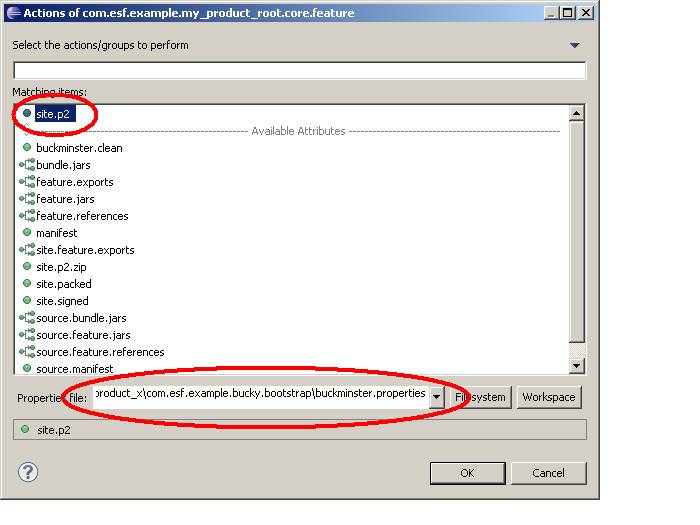
This step will build the update site. You will find the built projects in the directory that was specified for the output in buckminster.properties.
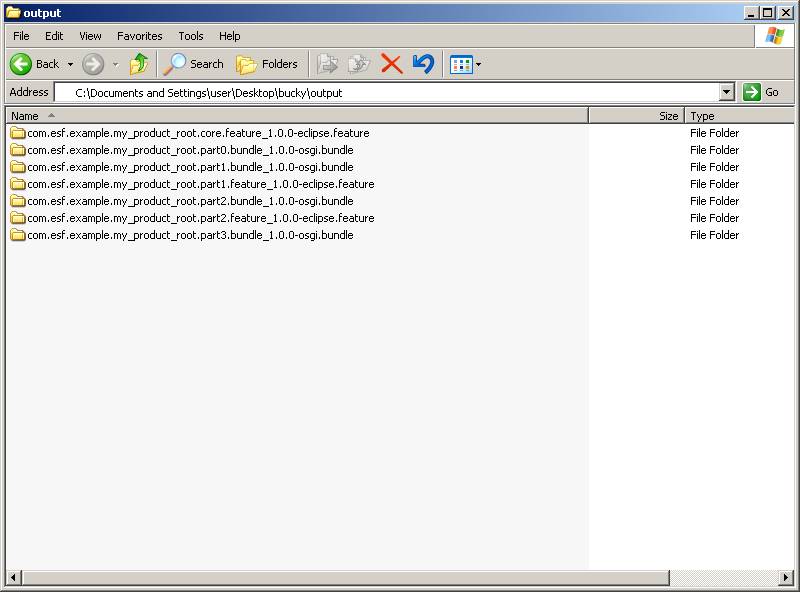
Note this step has now replaced the manual ‘Export -> Plugins and fragments’ typically used when building bundles.
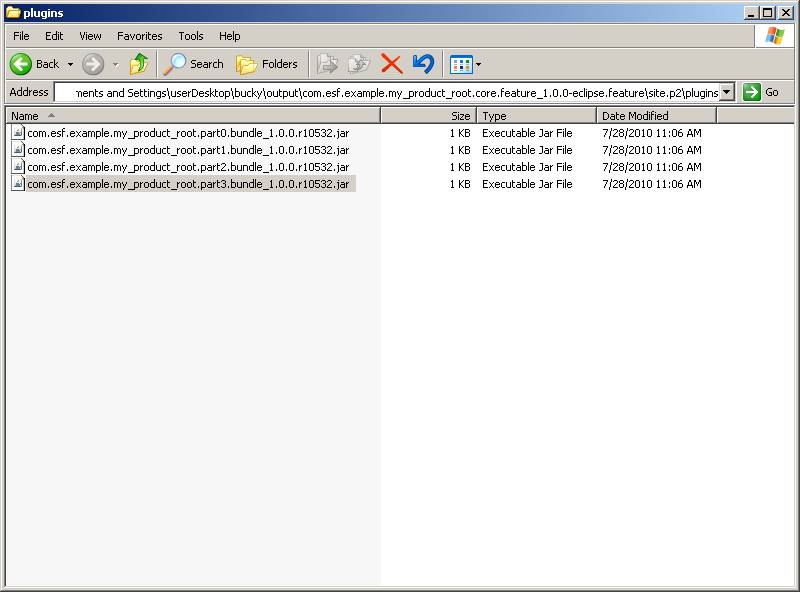
If you look in the com.esf.example.my_product_root.core.feature_1.0.0-eclipse.feature\site.p2\plugins directory, you will see all of the plugins that were built in your hierarchy of projects.
This process can be hard to deal with at first. But, as your projects and products begin to fork and branch, Buckminster makes it easy to keep the projects grouped and orderly. It also makes SVN checkouts easy, simplifies getting tagged versions of code, and makes it easier to build binaries with SVN revision numbers. Once the setup of Buckminster is in place, you’ll be glad it’s there.