
Version 1.41 - 2013
Last: Vers. 5.xx - 2018
- ESF Developers' Guide
- Introduction
- Getting Started
- ESF Core/Foundation Code Examples
- ESF Protocol/Application Examples
- Supplementary Documentation
- Additional Eclipse and ESF Tooling
- Resources


PART 2. GETTING STARTED
Integrating ESF Tooling and Projects into Eclipse
· Import ESF Bundles into your Workspace
· Select Java Runtime Environment (JRE)
· Set Compiler Compliance Level
Installing ESF
Download ESF Plugins
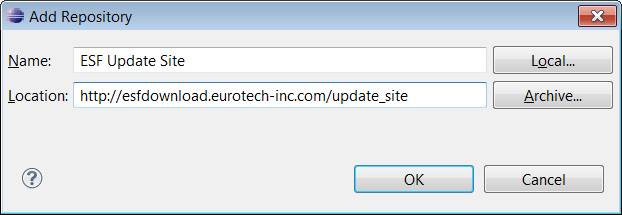
To download and install the ESF plugins into the Eclipse environment, run Eclipse and select Help -> Install New Software... Click the Add... button to add a new download site. Enter the address of the ESF update site (http://esfdownload.eurotech-inc.com/update_site) and click OK. You will be prompted for a username and password to log into the update site. The username and password should have been emailed to you when you registered with this site at http://esf.eurotech.com.
A top-level list of available components will be shown. This list will include at least some platform specific ‘Base Features’ and other components which may be available for download. The Base Features consist of the service API (interface) bundles that are core components of the ESF platform. Other APIs may be included in the ‘base’ bundles for vertical market components, and ‘source’ components include Eurotech’s implementations of the base service APIs.
Select the components to download by clicking the checkboxes. At a minimum, the ‘Core Tooling and JVM Feature’ must be installed, along with at least one of the platform-specific Base Features. More than one processor Base Feature may be installed as Eclipse components, which will allow subsequent selection of the target platform.
The following screen capture shows an example of the Install window. If you have a Helios, you would install at least the ‘Core Tooling and JVM Feature’ as well as the ‘Helios Base Feature’. If you are also using the Cloud Services, you should also install the ‘Eclipse MQTT Client’. If you are interested in continuous build and integration tooling, you could also install the ‘ESF Deployment Feature’.
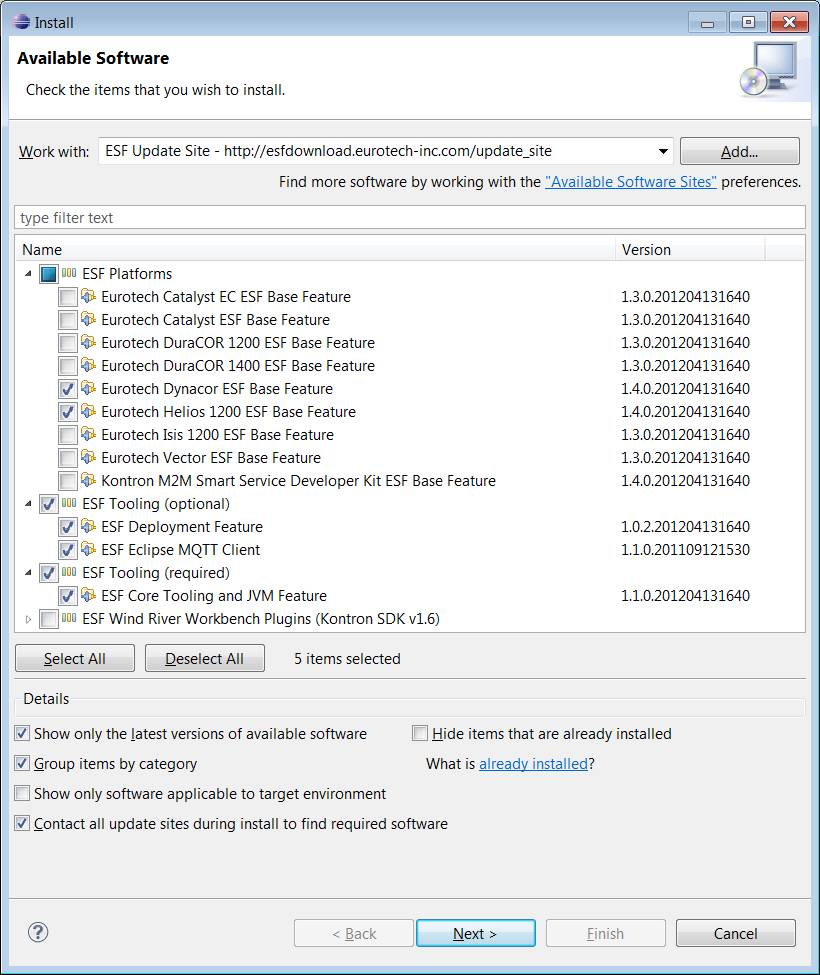
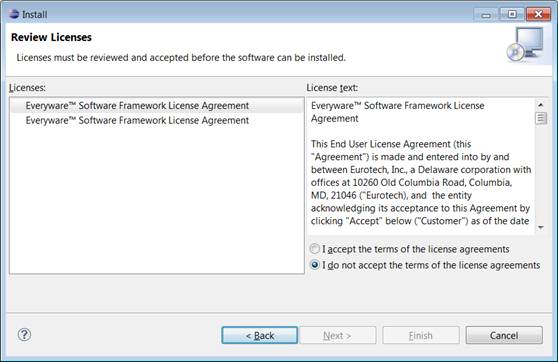
Click Next to continue and Finish to accept the terms of the end-user license agreement.
The download will probably take several minutes to complete. Follow the prompt to restart Eclipse after the components have been installed. You may also receive the warning shown in the following screen capture.
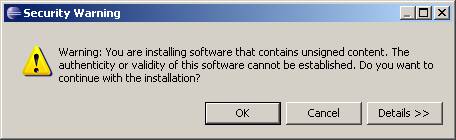
Make sure to double check that you are using the proper update site. If so, click OK to continue. Again, make sure to restart Eclipse when prompted.
Import ESF Bundles into your Workspace
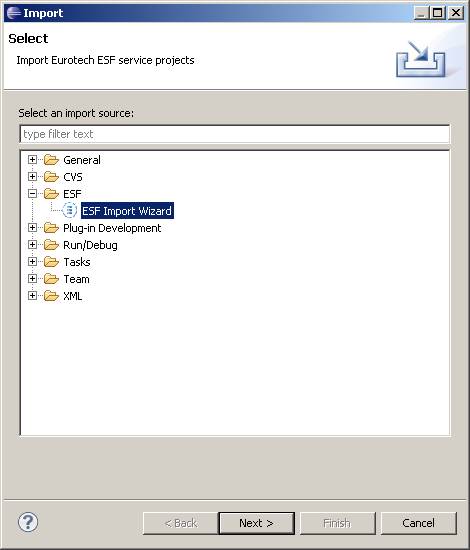
In the Package Explorer, select File -> Import and choose the ESF -> ESF Import Wizard entry, then click Next.
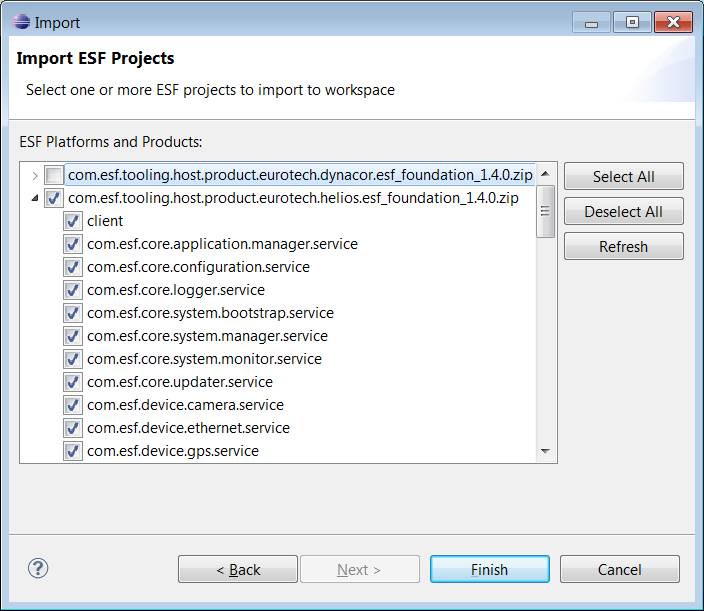
Choose the components to be imported, and click Finish. For the purposes of this example and many of the code examples, we are assuming that all of the components for a single platform are being imported. In this example, we are using the Helios as the reference platform.
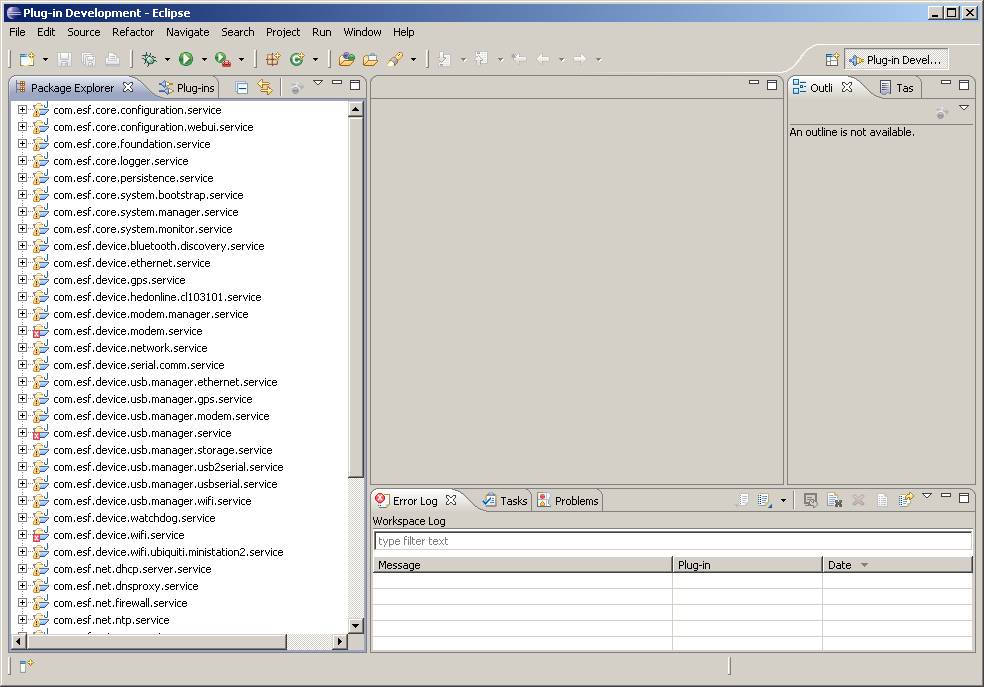
At this point the projects will begin copying to your workspace. Copying will take some time. Also, it is important to note there will be errors in your workspace after the import is complete. The next steps will show you how to fix these errors. Your workspace should now look similar to the following screen capture.
Setting Up Eclipse
Select Java Runtime Environment (JRE)
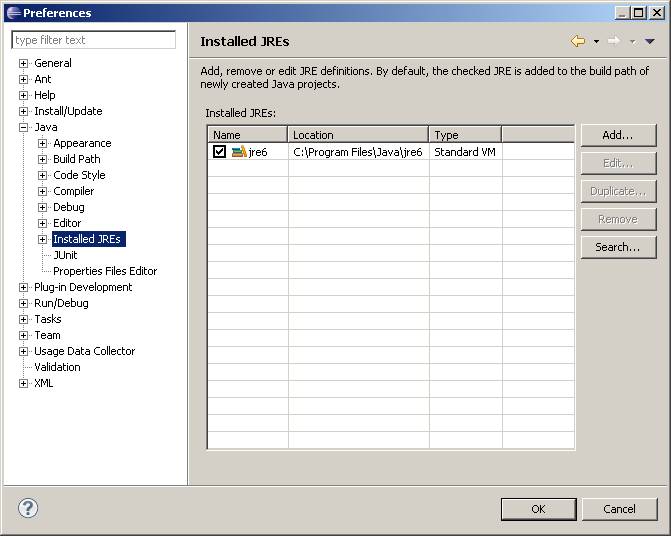
Open Window-> Preferences and select “Java”, “Installed JREs”. The default JRE will be what you have installed on your system.
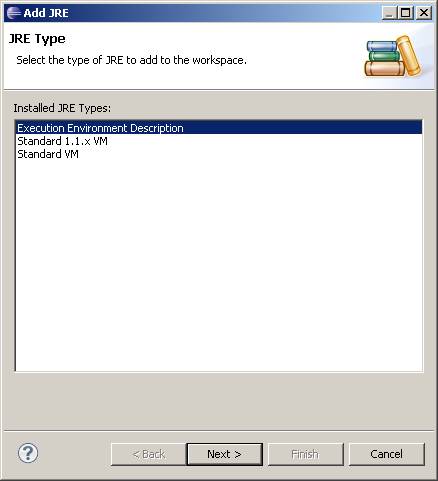
Next, add a custom JVM description by clicking the Add... button, selecting “Execution Environment Description”, and clicking Next.
Click the File... button and browse to the ECLIPSE_WORKSPACE directory for the workspace in which you are currently working. From there, select the ee_java_oracle_ejre_1.6.0_25\bin directory. Select the file ‘ejre1.6.0_25_win.ee’ if you are running Windows or ‘ejre1.6.0_25_linux.ee’ if you are running Linux.
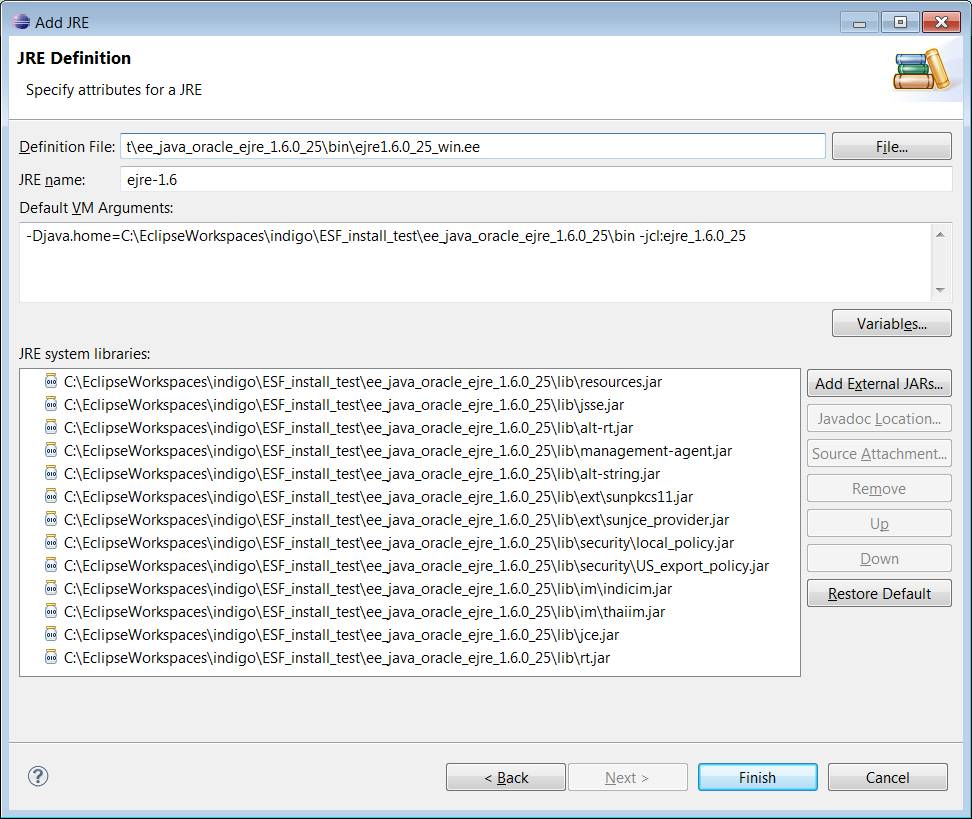
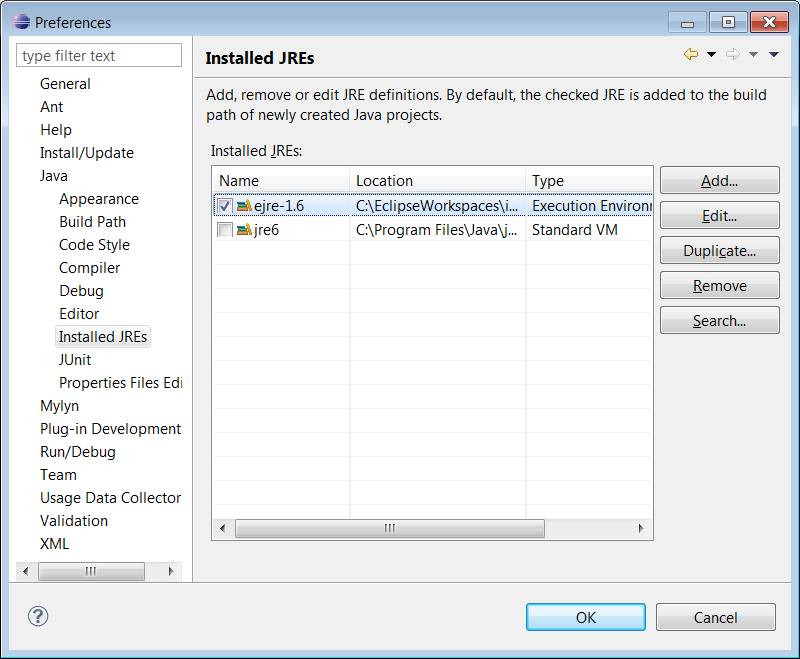
Then click Finish. In the main preferences Window, select the new JRE as the base JRE to use, as shown in the following screen capture.
Set Compiler Compliance Level
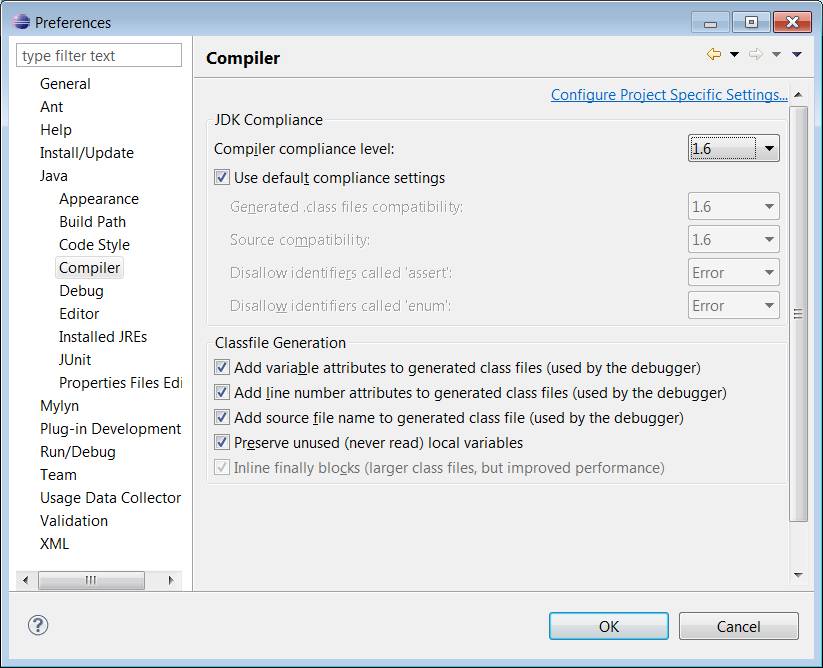
Select the Java -> Compiler option and set the “Compiler compliance level” to 1.6. Click OK to exit preferences. This setting may require the compiler to perform a full software build. If prompted to perform one, select OK.
Set API Baseline
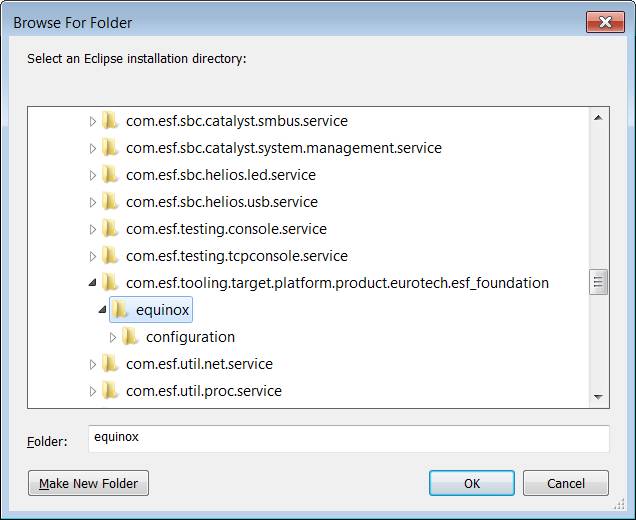
In Preferences under Plug-in Development, select API Baselines. Click the Add Baseline button and enter a name “ESF”. In the Location, browse to the ECLIPSE_WORKSPACE directory for the workspace in which you are currently working. Browse to the com.esf.tooling.target.platform.* directory for the target platform you intend to use, and select the “equinox” folder under it. Click Finish, and then click OK. Click Yes to do a full build of the environment.
Select Target Platform
The “Target Platform” will be selected depending on which Eurotech target processor system will be used. If more than one target device is used, the Target Platform can be changed later when switching between target devices. Preferably, you would have a different workspace for use with a different target.
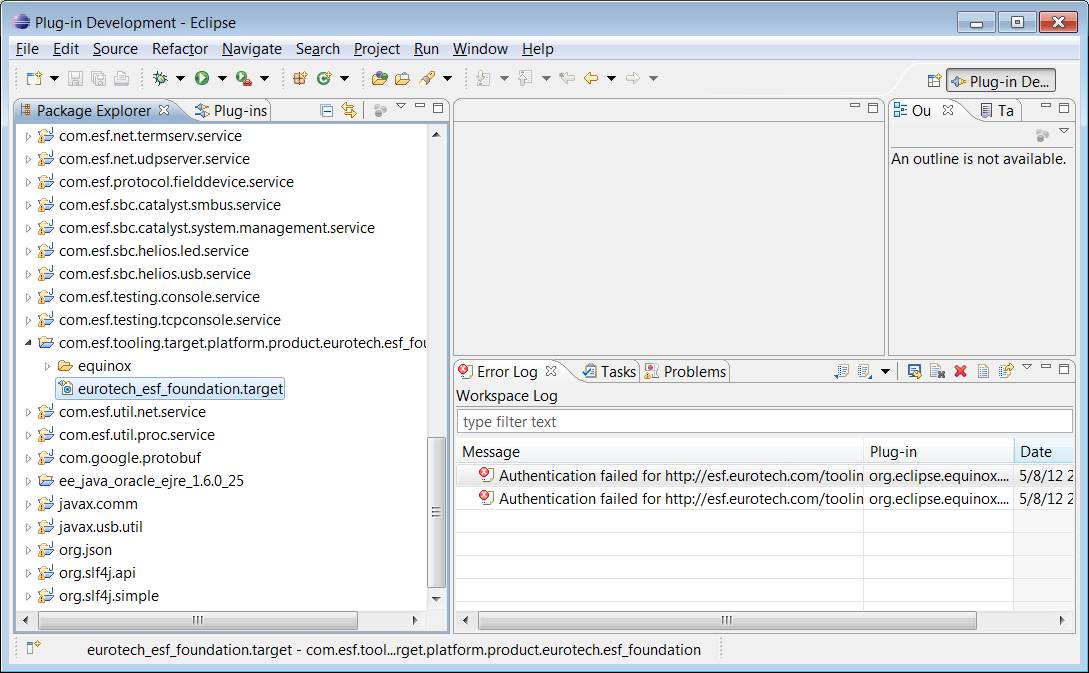
Locate and open the “.target” file in the Java project containing the target platform corresponding to the device for which you are compiling, such as ‘eurotech_helios_esf_foundation.target’ in the project ‘com.esf.tooling.target.platform.product.eurotech.helios.esf_foundation’.
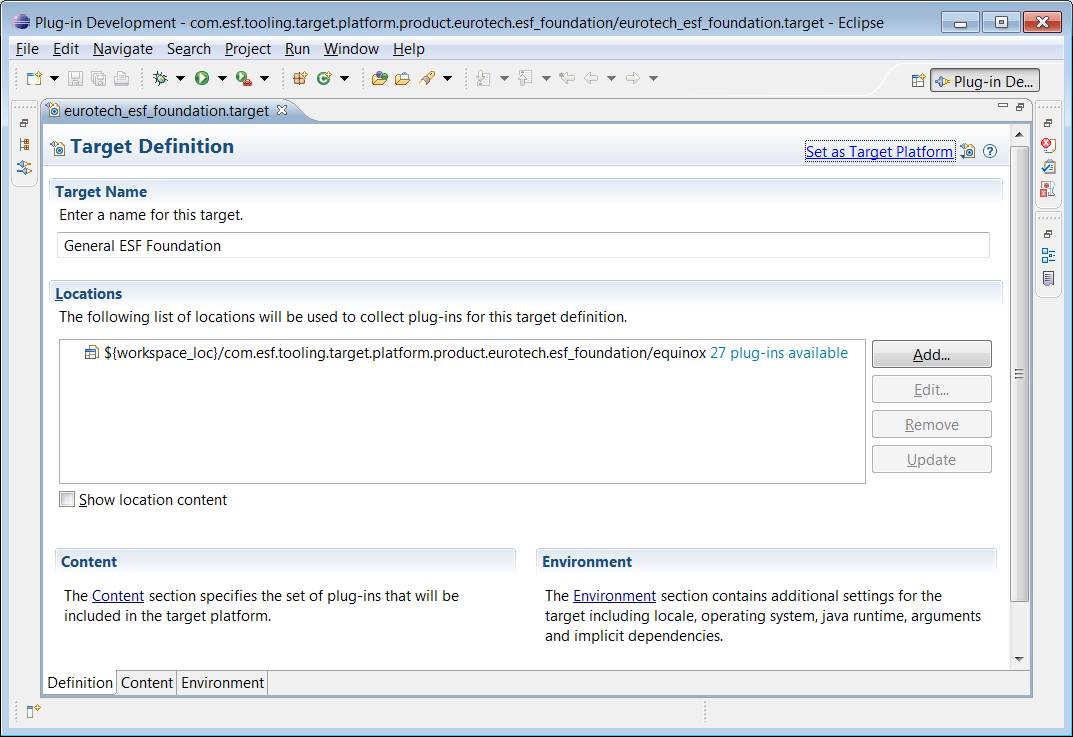
After opening the target platform definition, click the link “Set as Target Platform” in the upper right. This will reset the target platform and rebuild the projects.
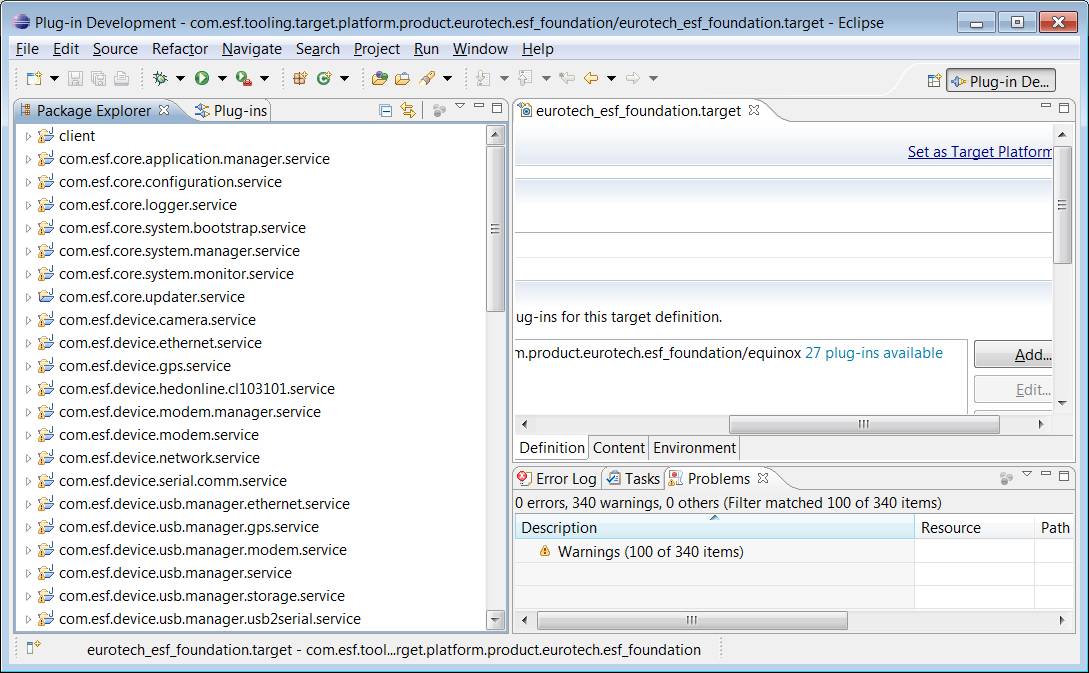
After setting the target platform, you should have no errors in your workspace. You can validate this by opening the ‘Problems’ tab in the lower right window pane of Eclipse. You will likely have some warnings but should not have any errors. Also, you should not have any red asterisks next to any of the projects in the package explorer (left pane showing the projects).
At this point, you are ready to begin developing ESF-based applications for your target platform.