
Version 1.41 - 2013
Last: Vers. 5.xx - 2018
- ESF Developers' Guide
- Introduction
- Getting Started
- ESF Core/Foundation Code Examples
- ESF Protocol/Application Examples
- Supplementary Documentation
- Additional Eclipse and ESF Tooling
- Resources


PART 6. ADDITIONAL ECLIPSE AND ESF TOOLING
SVN Integration
· Overview
SVN Integration
Overview
This example shows how to add SVN capabilities to Eclipse. There are two main SVN plugins for Eclipse: Subversive and Subclipse. For various reasons, we will focus on Subversive. It seems to be more stable than Subclipse and has more supported features as of this writing. Also, Subversive is supported by Buckminster, which is what Eurotech uses for continuous build and integration of ESF.
In this example, you will learn how to
· Add and Configure the Subversive Plug-ins for Eclipse
Prerequisites
or
· Installing ESF Tooling into Wind River Workbench
Subversive SVN
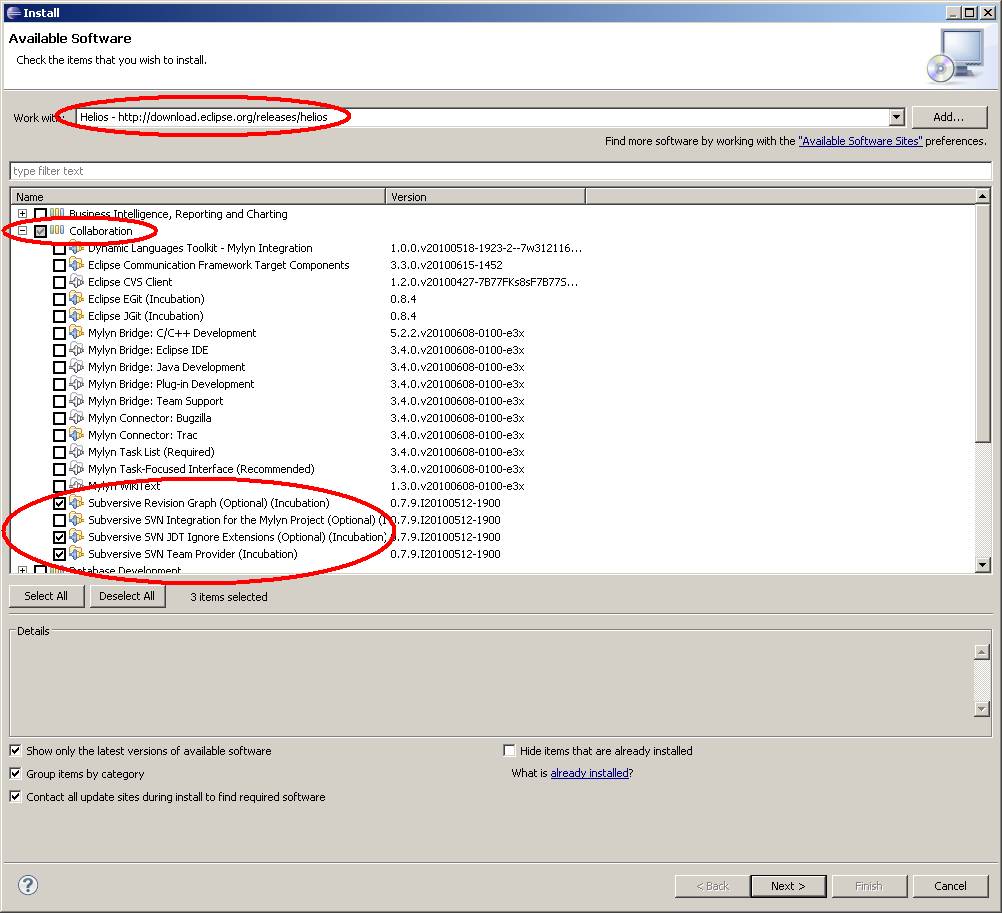
Click ‘Help -> Install New Software…’ in the Eclipse menu. Select ‘Helios – http://download.eclipse.org/releases/helios’ in the ‘Work with:’ field (or “Indigo”, depending on the version of Eclipse you are using). Expand the ‘Collaboration’ section. Select the following three plug-ins:
· Subversive Revision Graph
· Subversive SVN JDT Ignore Extensions
· Subversive SVN Team Provider
Click ‘Next’ to continue.
Click ‘Next’ in the verification dialog box to continue.
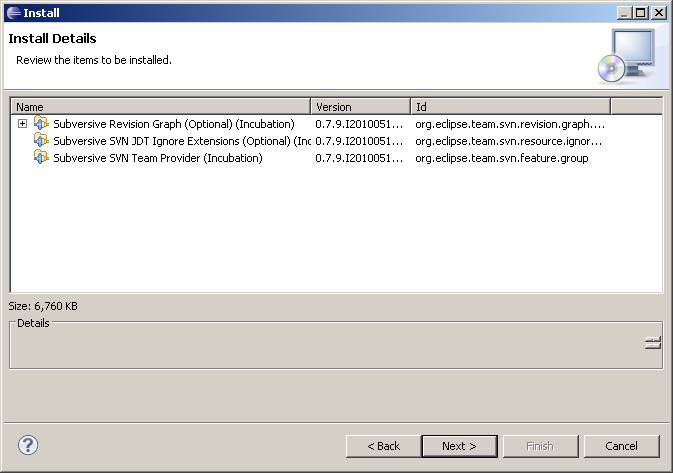
A new dialog will display the Eclipse EULA that is required for these plug-ins. Accept the agreement and click ‘Finish’.

The install will probably take a few minutes to complete. When complete, it will prompt you with a restart option. Select ‘Restart Now’ to restart Eclipse with the newly installed plug-ins.

With Eclipse restarted, you can now configure the Subversive plug-in. The Eclipse Welcome screen has documentation links to the Subversive documentation.
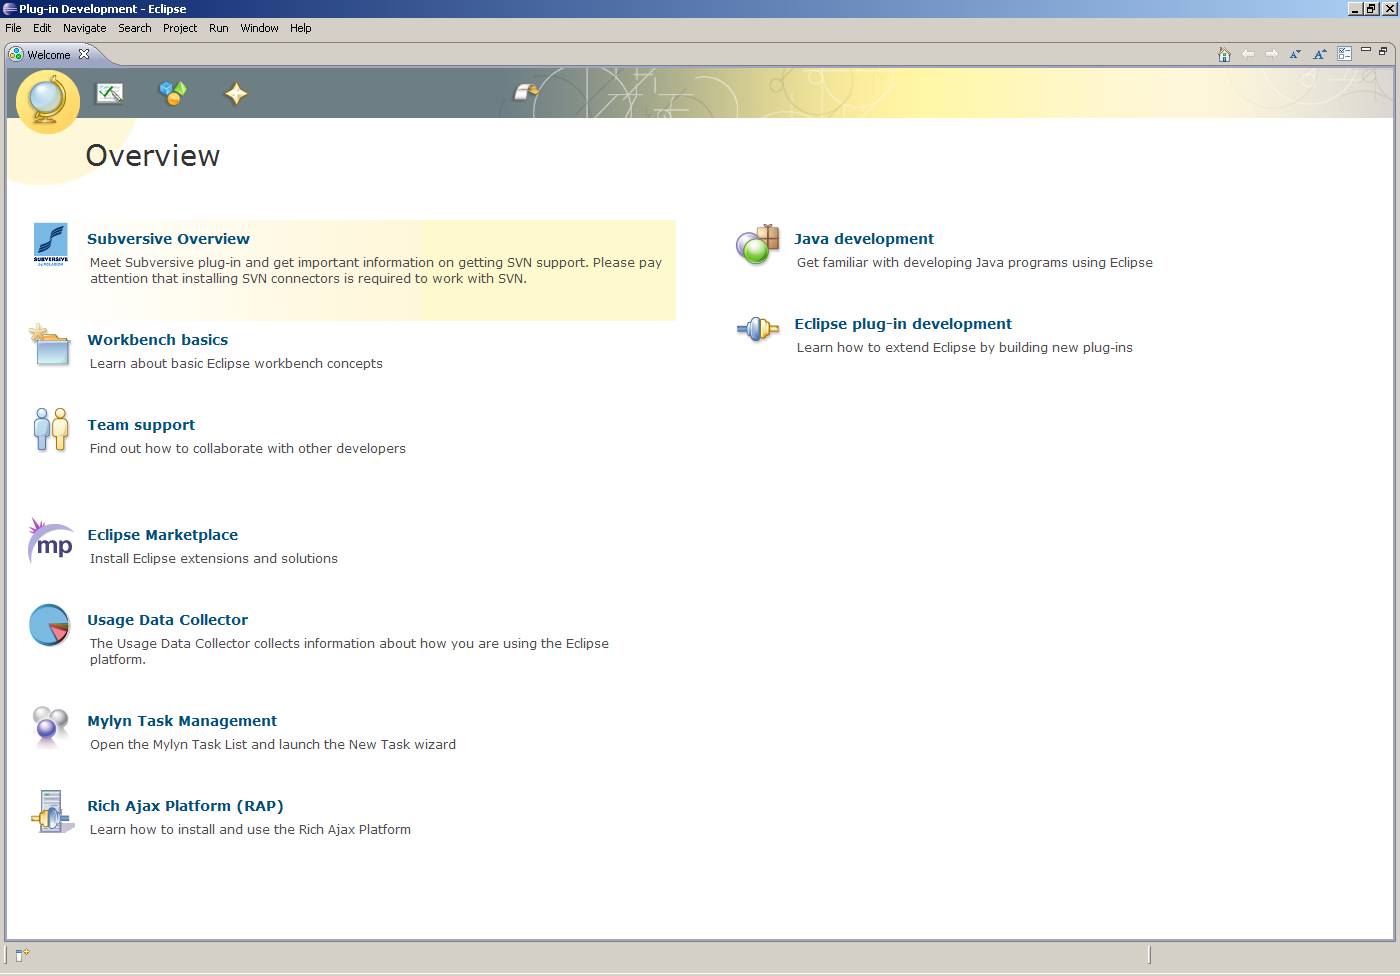
Once done, close the Welcome screen. Go to ‘Window -> Preferences’, and then go to ‘Team -> SVN’.
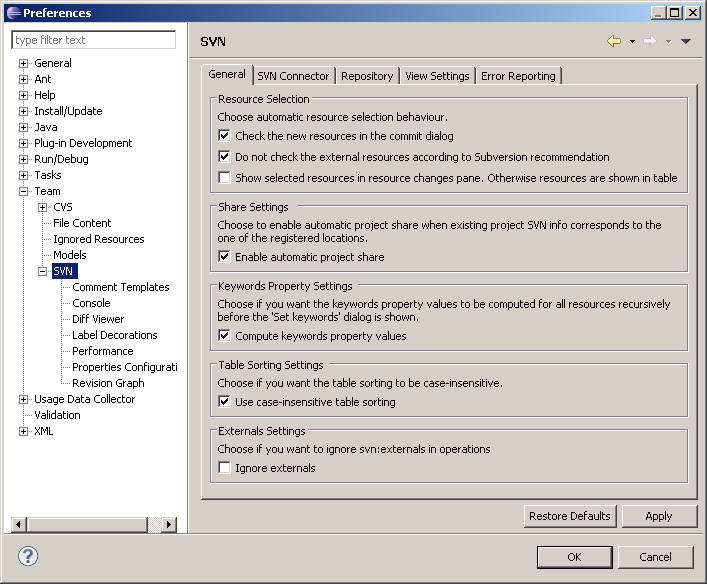
Select ‘SVN Kit 1.3.2’ and click ‘Finish’.
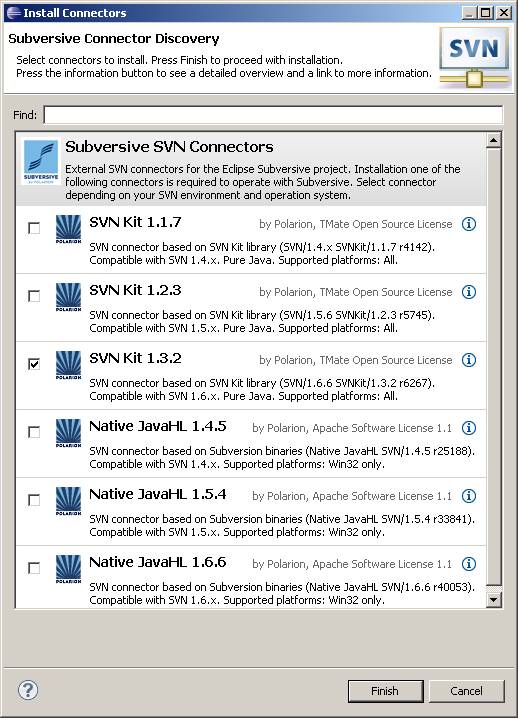
Verify that the Subversive SVN Connectors and SVNKit 1.3.2 Implementation checkboxes are already selected. Click ‘Next’. A review screen will open. Click ‘Next’. Finally, accept the EULA and click ‘Finish’.

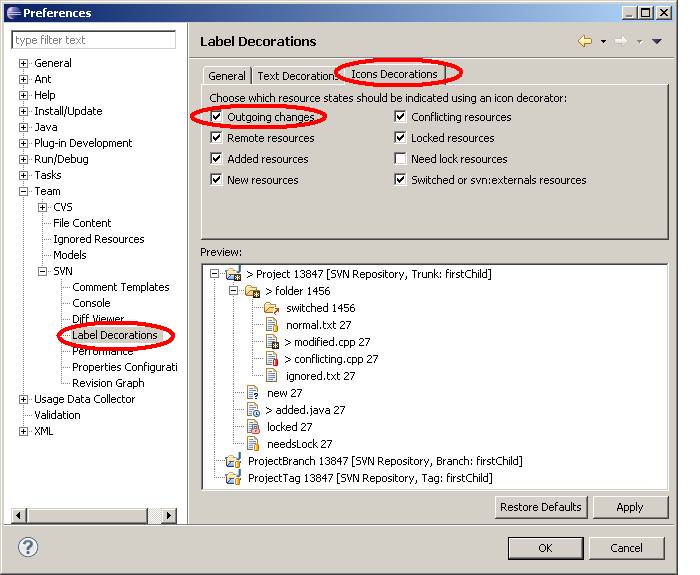
Again, you may be prompted about an error validating the authenticity of the software. Click ‘OK’ to continue installing. When prompted, restart Eclipse. When Eclipse comes back up, Subversive will be installed and configured. There are additional configuration changes you can make via the ‘Window -> Preferences’ menu. A convenient change is to make ‘Outgoing changes’ more pronounced within the Package Explorer. Select ‘Team -> SVN -> Label Decorations’ and then select the ‘Icons Decorations’ tab. Finally, select the ‘Outgoing changes’ checkbox and click ‘OK’.
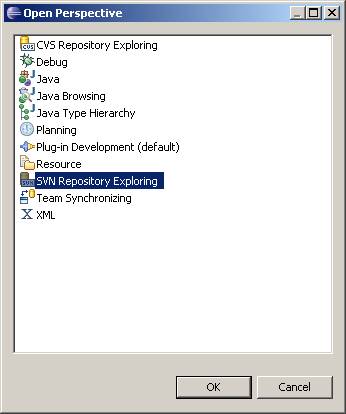
You now have a new perspective in Eclipse. To go to this perspective, click ‘Window -> Open Perspective -> Other…’. Select ‘SVN Repository Exploring’ and click ‘OK’.
Notice in the main Eclipse Window the Package Explorer has been replaced with a ‘SVN Repositories’ pane and a growing ‘Perspectives List’ across the top center of the Eclipse Window. This is a handy way to quickly switch between perspectives.
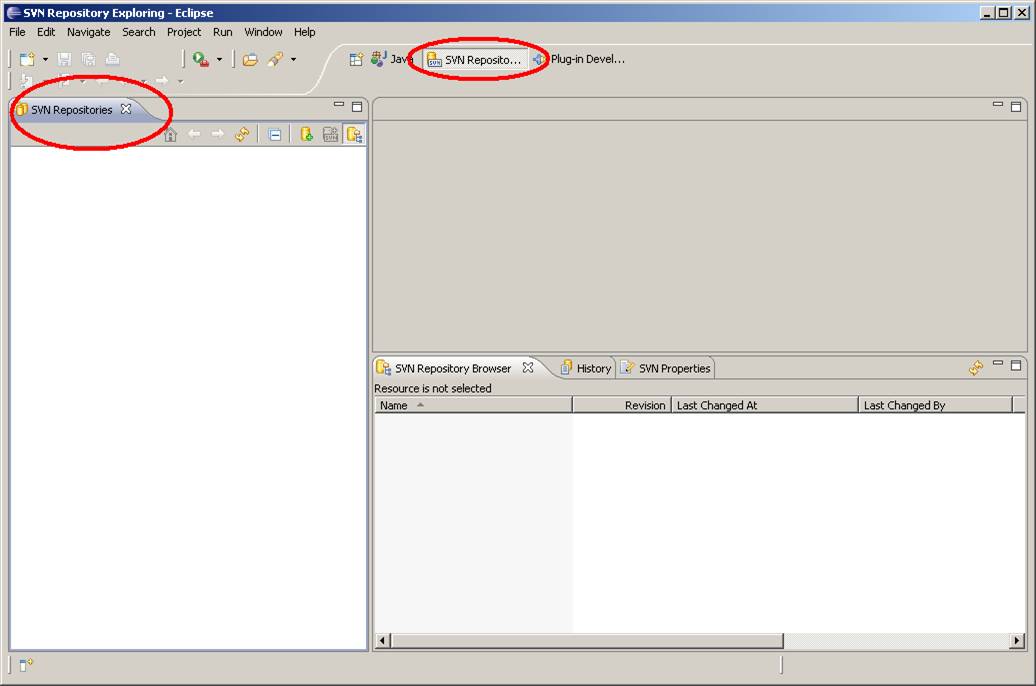
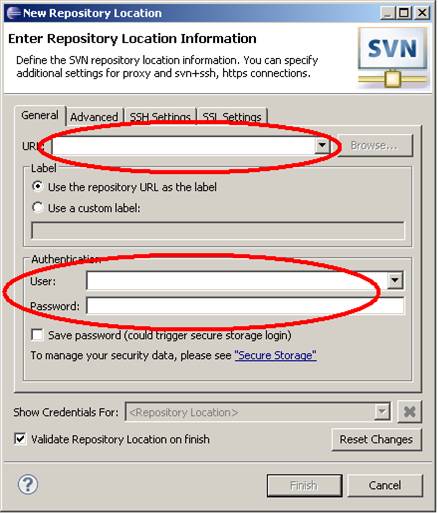
To add a repository, right-click in the ‘SVN Repositories’ pane and select ‘New -> Repository Location…’. Specify a URL and specify a username and password if required by your SVN repository. Optionally, you can save the password by clicking the ‘Save password’ checkbox.
After adding these properly, you will see a new SVN repository in your ‘SVN Repositories’ window pane. You can now browse the SVN tree, check out projects, commit code back, etc. You can also compare SVN versions and compare local versions to the repository versions. The common notions of branches, tags, and trunk are all supported so you can easily tag and branch projects as well. Refer to the Subversive plug-in documentation for more information.