
Version 1.41 - 2013
Last: Vers. 5.xx - 2018
- ESF Developers' Guide
- Introduction
- Getting Started
- ESF Core/Foundation Code Examples
- ESF Protocol/Application Examples
- Supplementary Documentation
- Additional Eclipse and ESF Tooling
- Resources


PART 2. GETTING STARTED
Installing the Eclipse IDE (Helios)
Eclipse IDE
This section will provide a step-by-step process for installing the Eclipse IDE, which is the basis for the Everywhere Software Framework (ESF) development tools. Eclipse is an open source development tool that consists of an integrated development environment (IDE) and a plug-in system for managing extensions. This section and the next several documents will walk through installing Eclipse, obtaining updates/plug-ins/tools, and setting up the environment.
Installing Eclipse
Before installing Eclipse, a directory should be created on the installation machine called “eclipse”. This directory will be the location of Eclipse installations as well as workspaces. Within the “eclipse” directory, two more directories should be created and named “installs” and “workspaces”. The location of the “eclipse” directory must be chosen carefully and is typically at the root directory (C:\ on a Windows machine or / on a Linux machine).
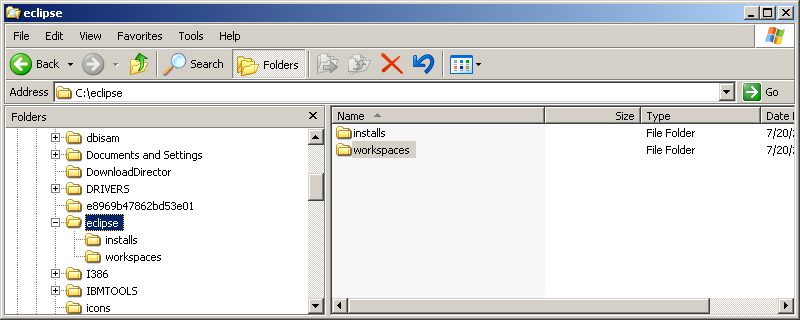
Note: It is very important to recognize a few things before getting started. Once Eclipse is installed and workspaces are created, they can never be moved to another location in the file system. There may be multiple installs (of different or similar versions) of Eclipse in the “C:\eclipse\installs\” directory, and single instances of each install can be run simultaneously; but there should NEVER be more that one instance of a specific install running at the same time (to avoid corruption to the Eclipse environment). Also, each workspace should be specific to only one Eclipse install. For the purposes of this guide, only a single Eclipse installation will be covered.
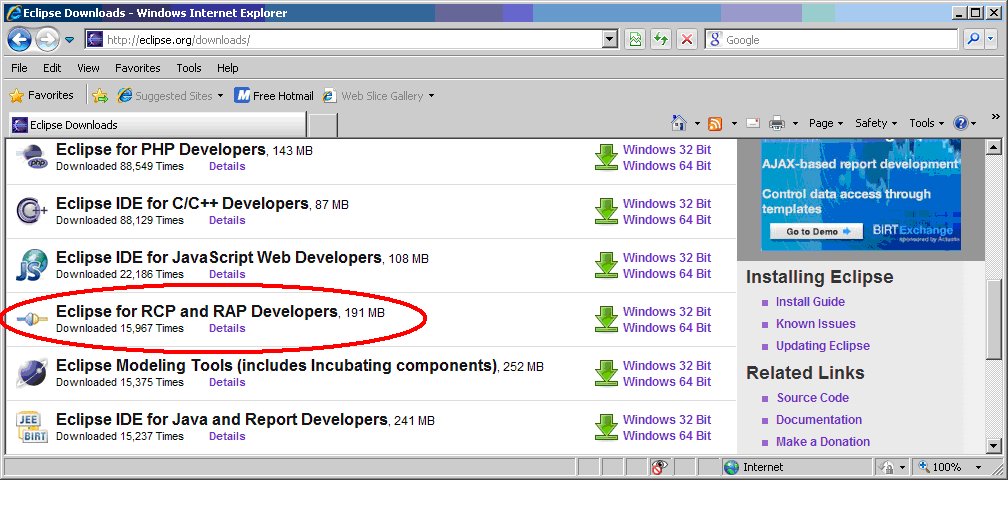
The current distribution of Eclipse can be downloaded from the Eclipse website at http://www.eclipse.org/downloads/.
Note: These instructions show the installation of Eclipse Helios (version 3.6.x). Newer versions of Eclipse may be available, such as Indigo (version 3.7.x), that may also work. Installation procedures should be similar, but may not be exactly the same as shown in this section.
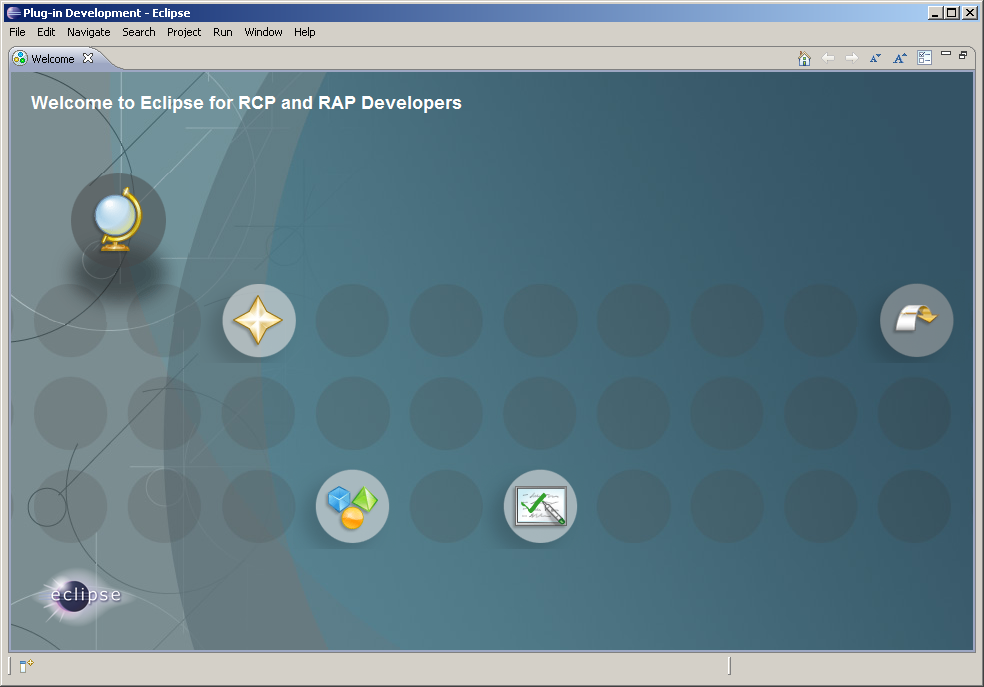
The specific Eclipse Helios package used for ESF development is called “Eclipse for RCP and RAP Developers” and contains the essential tools for Java and ESF bundle development (shown in the following screen capture).
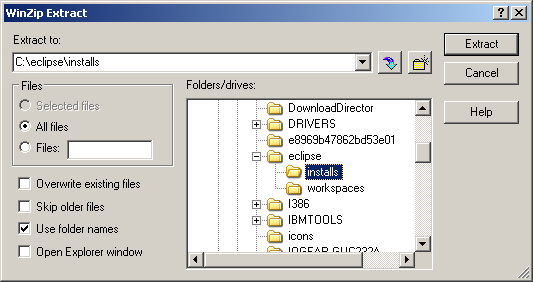
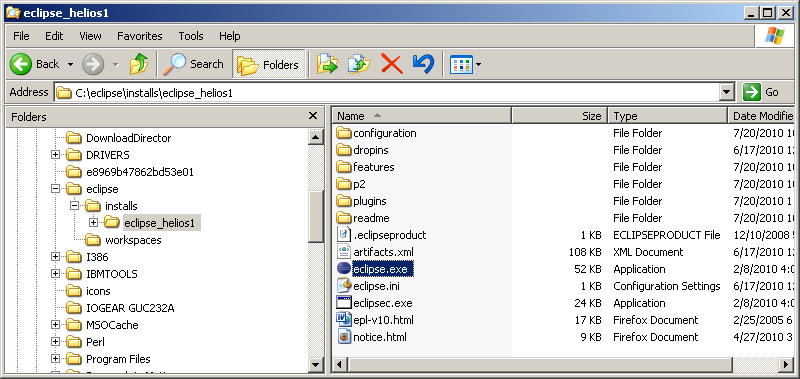
The zipped Eclipse file will be downloaded to the local file system and can be saved to a temporary location, that can be deleted after Eclipse has been installed. After the file has been downloaded, it should be extracted to the “C:\eclipse\installs\” directory. The Eclipse executable will then be found in the “C:\eclipse\installs\eclipse\” directory.
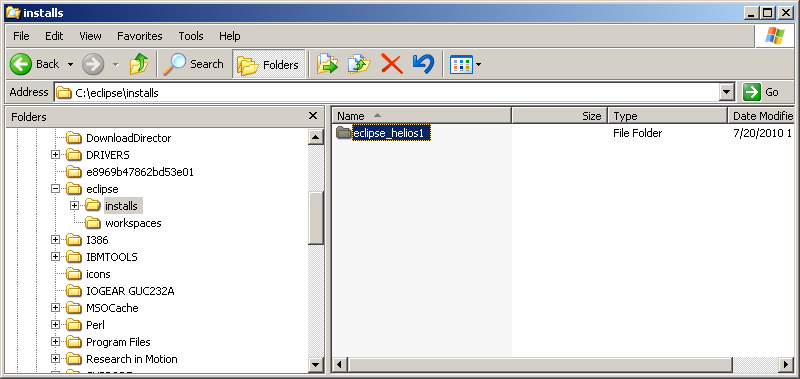
Because there may potentially be future Eclipse installs extracted into this location, rename the directory before doing anything else, such as to “C:\eclipse\installs\eclipse_helios1\”. Once you begin using this Eclipse install, it should not be moved or renamed later.
Running Eclipse
Start Eclipse by double-clicking on the eclipse.exe (or eclipse on Linux) executable, in the “C:\eclipse\installs\eclipse_helios1\” directory (or whatever you renamed it to).
Workspaces
When Eclipse is run for the first time, a workspace needs to be created. A single workspace will contain all the Java code/projects/bundles, Eclipse configuration parameters, and other relevant files for a specific business-level project. If the “Use this as the default” option is checked, the workspace will become the default each time you run Eclipse. When a new workspace is needed, select the Eclipse menu File->Switch Workspace->Other to create one as previously described, or a past workspace can be selected.

The workspace should be named appropriate to the project(s) being developed. For example, suppose code is being written for several different products for several different companies. Within the workspaces directory, one recommendation might be that a directory be created for “Company A”, and then within that directory a new directory created for “product X” that will be selected as the current workspace. Each product for each company would be given its own development workspace. The reason for organizing the workspaces in this way is that different business-level projects may be targeted at different devices that require specific Eclipse configurations. Each workspace will store these specific configurations.
Within each workspace one or more Java “projects” can be created. The term “project” has now been used twice, one referring to the business-level project that requires its own workspace and the other referring to individual Java projects (or “bundles”) contained within that workspace. Care should be taken to distinguish between these two definitions. A business-level project can contain many Java projects/bundles.

At this point Eclipse is fully installed. The next step is to install the ESF tooling and base projects so you can begin writing code in ESF. Visit this page for instructions on how to proceed installing the ESF components.
Other Tools
Eclipse supports many additional open source and proprietary plugins that can be installed and used. These include features like SVN support, code integration tools, etc. However, they are outside the scope of this document.